Raw
-
Cucumber, bell pepper & tomato juice
-
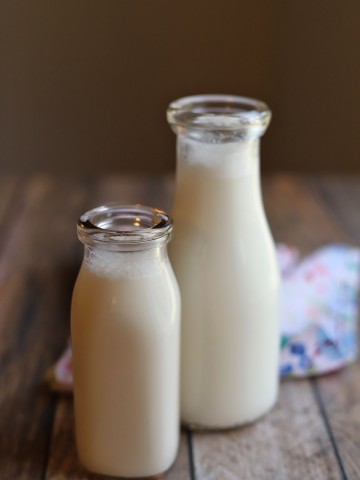
How to make almond milk
-
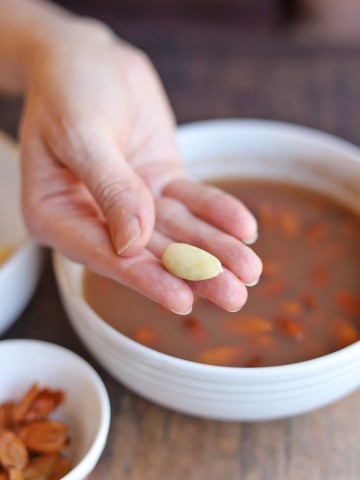
How to blanch almonds with the microwave or stove
-
Raw tacos with walnut taco meat (vegan)
-
Very cherry smoothie (vegan)
-
Chocolate banana nice cream (vegan)
-
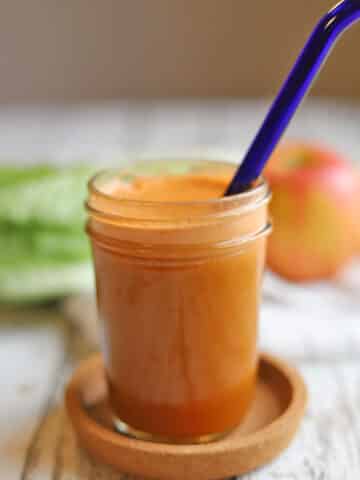
Carrot apple juice with cucumber & celery
-
Refreshing celery & cucumber juice
-
Things to see & do in Winter Park, Florida
-
My Southern California favorites
-
Breville compact juicer review & recipes