
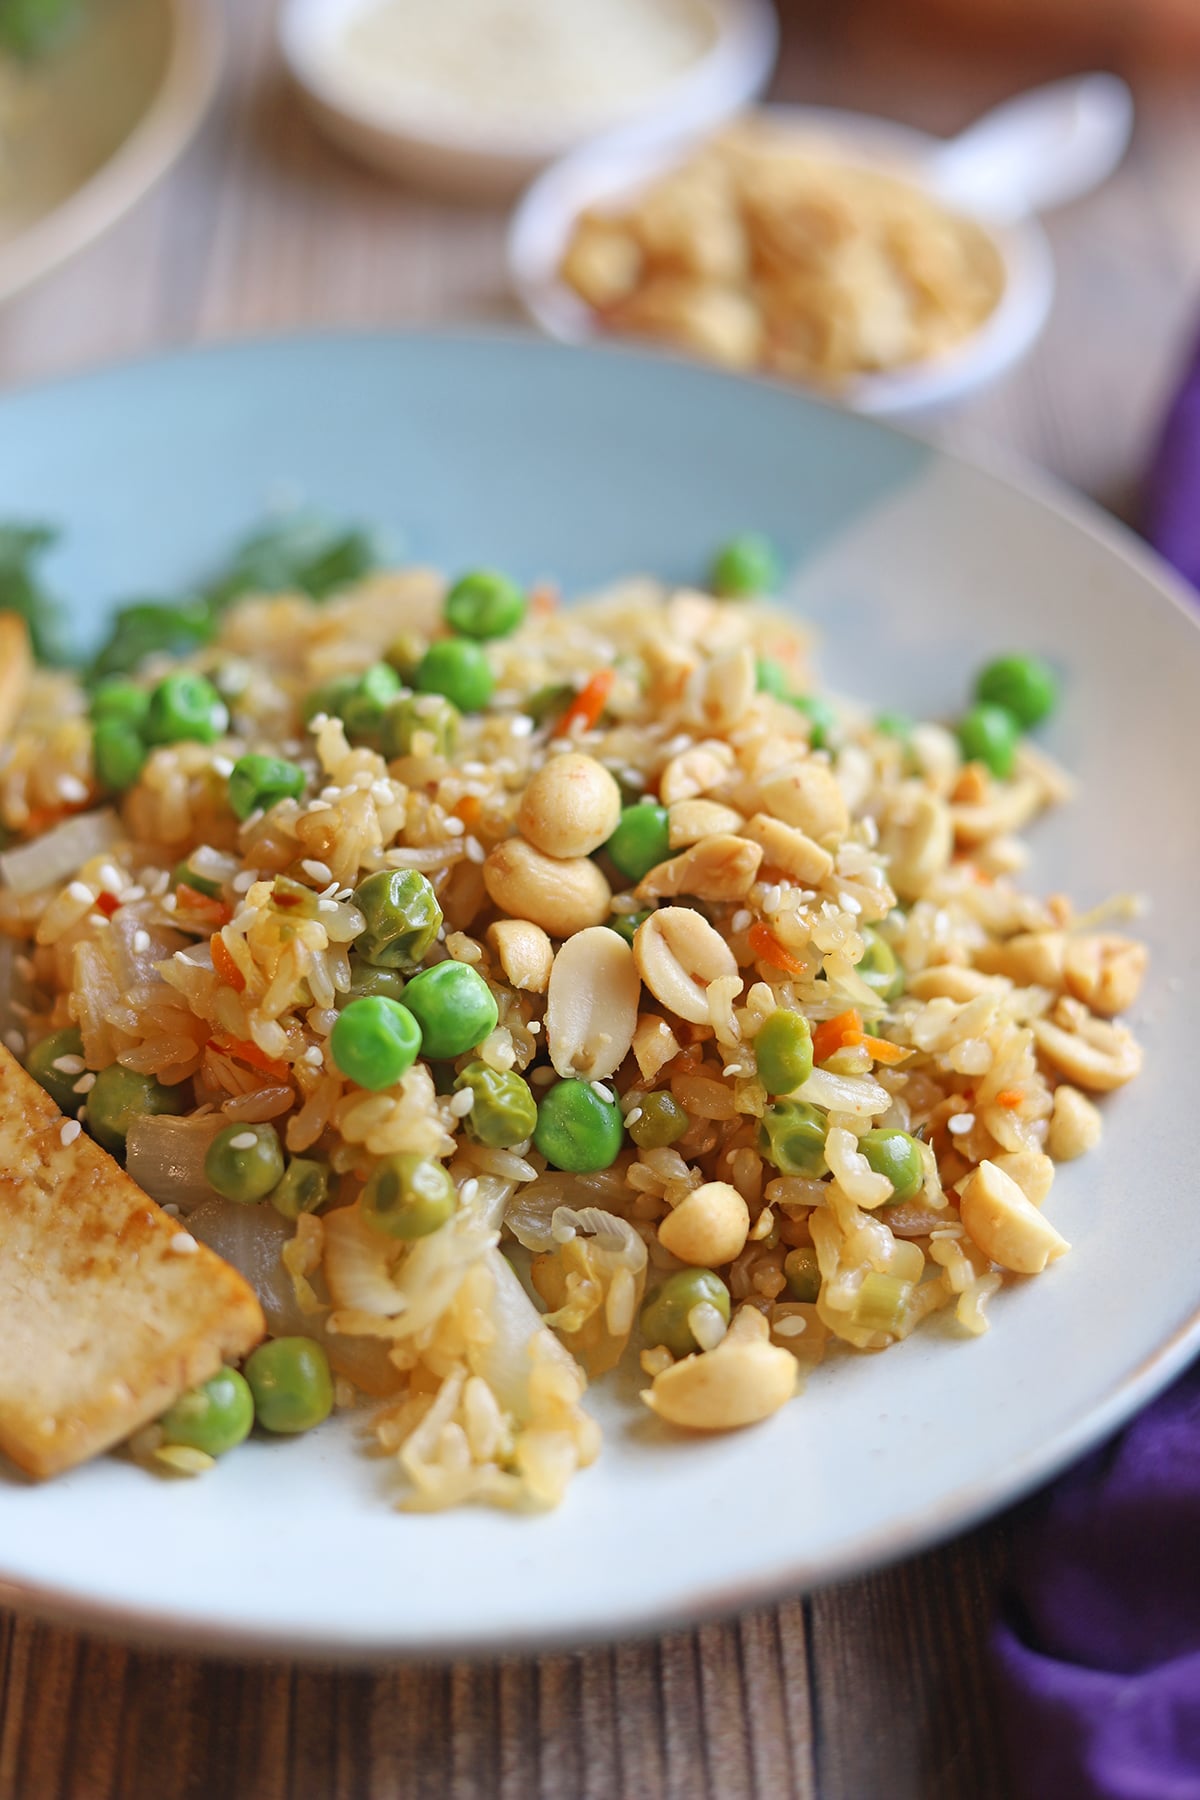
Vegan kimchi fried rice is so easy to make and loaded with flavor. It can be enjoyed on its own as a complete meal. Or add your favorite plant-based protein on top.

Vegan kimchi fried rice is a weeknight-friendly recipe that's packed with the pungent goodness of preserved cabbage, peas, and onions.
By using leftover rice, store-bought kimchi, and frozen peas, it requires very little chopping or time on task. It comes together in just 20 to 30 minutes.
Enjoy it as a full lunch or dinner on its own or alongside browned tofu or seitan.
This kimchi fried rice recipe comes from the cookbook Bold Flavored Vegan Cooking by Celine Steen. You'll find a variety of recipes in the book - from easy weeknight meals to more elaborate projects.
In this post:
Ingredients
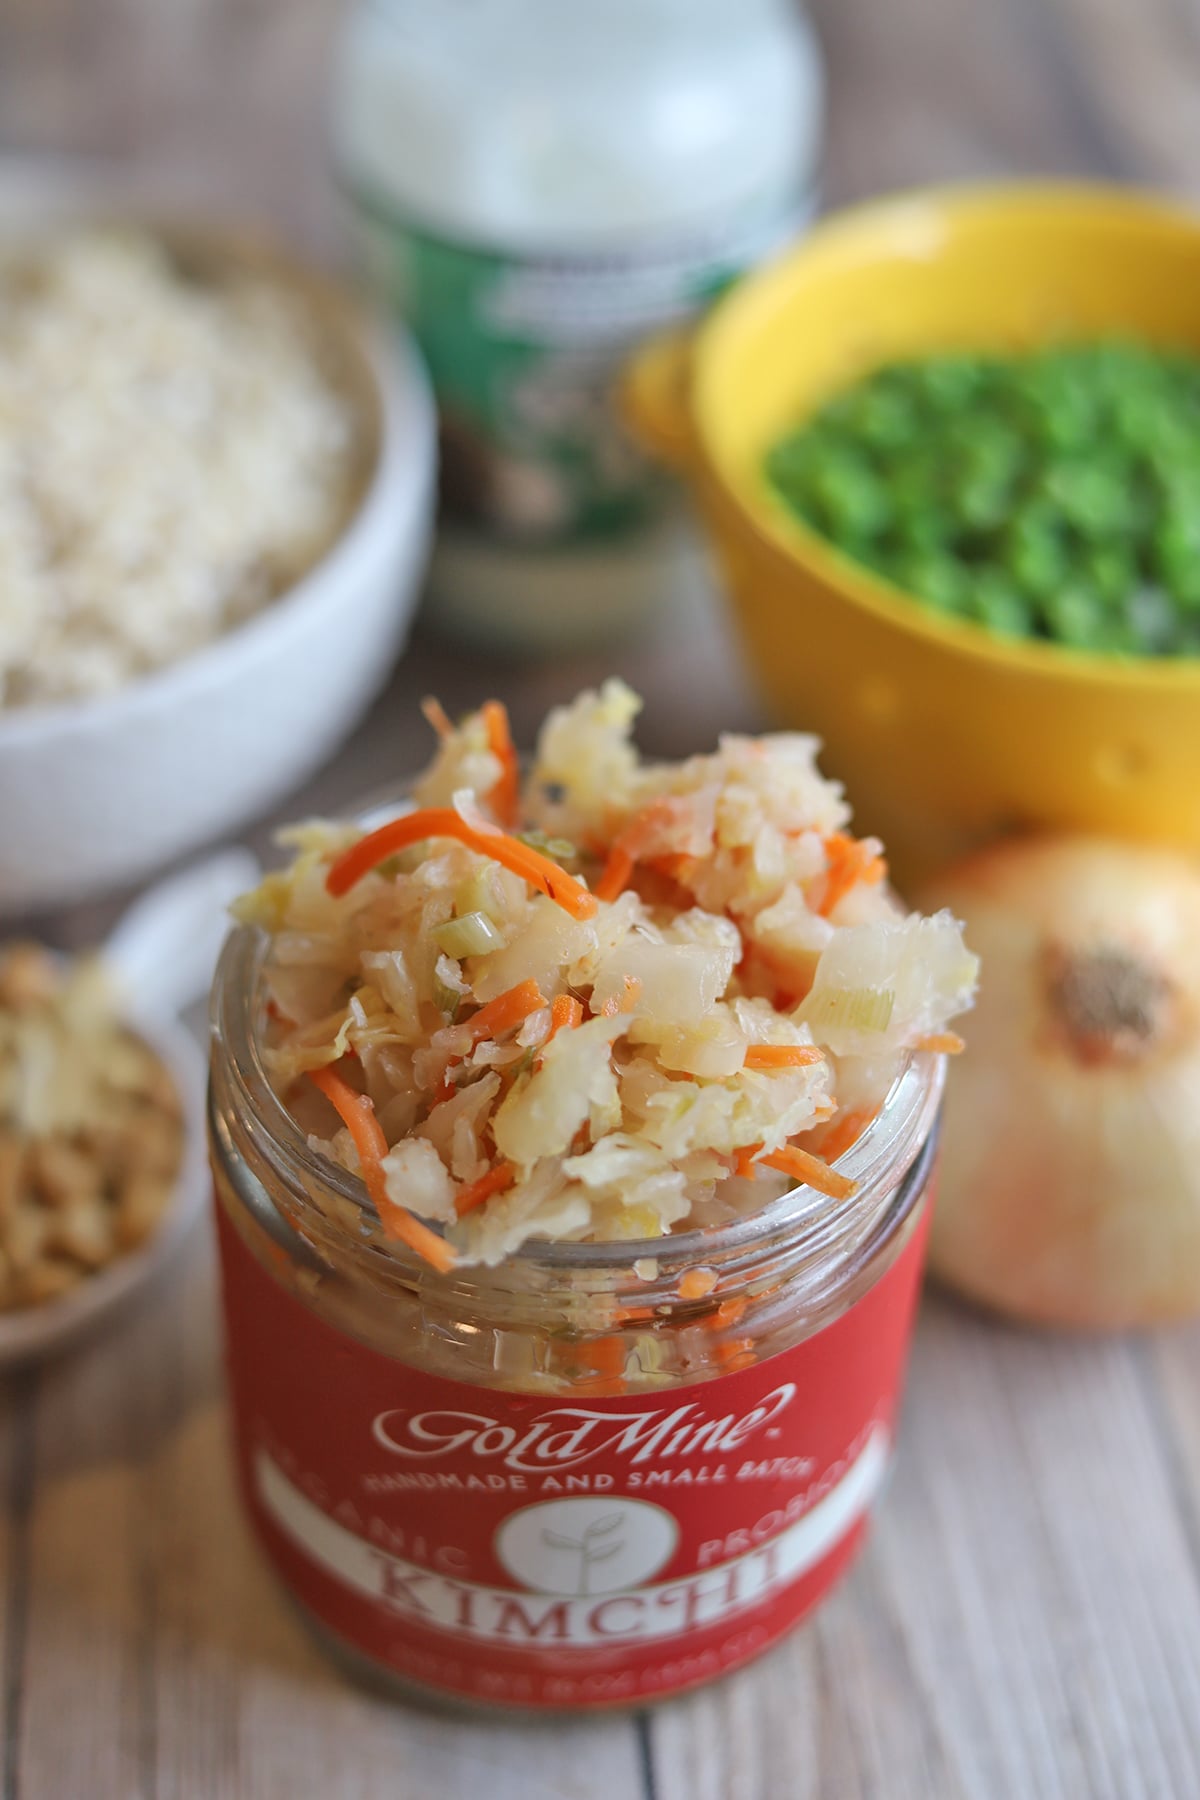
Here are the ingredients you will need to make this recipe.

Oil: This recipe calls for coconut oil, but it also works with any high heat oil like avocado oil.
Produce: Onion and frozen green peas.
Kimchi and brine: Use store-bought or homemade kimchi for this recipe. For vegan kimchi fried rice, look for kimchi that doesn’t include fish sauce, shrimp, and/or anchovy extract.
Rice: For best results, use cold rice. With cold rice, you're able to coat & toast the individual grains. Freshly cooked rice has more moisture & will clump. That makes it difficult for it to toast or for the flavorings to combine.
Tamari: This Japanese-style soy sauce adds umami and salt. It can be replaced with your preferred soy sauce.
Step by step instructions
This section shows how to make this recipe at a glance with process photos of the steps. For complete ingredient amounts & instructions, keep scrolling to the recipe card below.

Bring a large skillet to a medium-high heat with coconut oil. Add onion & sauté it.
Add kimchi & cook until heated through and not overly juicy.

Add green peas & cook until bright green.
Bring a separate skillet to a medium high heat with coconut oil. Add rice & cook until heated through and crisp.

Season the rice with tamari and kimchi brine.

Add the toasted rice to the pan with kimchi/onions/peas.
Serve with your preferred garnishes.
Make it your own
You can make this dish your own by varying the ingredients & amounts.
Vary the amount of kimchi
I like to use 8 ounces of kimchi. However, if yours is on the weak side, feel free to add more. (You can go up to double.)
Add seasonings
If your kimchi is mildly flavored, add a dollop of gochujang, a sprinkle of rice vinegar, or another splash of tamari to the rice.
Vary the oil & amounts
If you don't have coconut oil, any high heat oil will work. Avocado oil is a convenient all-purpose & flavorless option.
You can easily use less oil than what the recipe lists. I halve the amount below, and that works fine.
Replace the peas
The peas can be replaced with edamame.
Add Just Egg
For a toothsome addition, add browned Just Egg.
I recommend sprinkling it with kala namak, nutritional yeast, and black pepper for enhanced flavor.
Serving ideas
This filling rice dish can be a full meal on its own. Or you can add different garnishes, toppings, or side dishes to fill it out.
For a starter, begin the meal with tofu dumplings, spicy edamame, or potsticker soup. The soup is lightly seasoned with gochujang, which complements the flavors here.
Top vegan kimchi fried rice with garnishes like sesame seeds, chopped peanuts, scallions, browned seitan bacon, or crumbled nori.
Protein-packed tofu gives extra staying power to the dish. Homemade bulgogi tofu, eggy tofu, or store-bought teriyaki tofu works well here.
(You can pre-packaged teriyaki flavored tofu from Wildwood or Trader Joe's.)
Add a dollop of sesame kale, fried Brussels sprouts with gochujang, or sugar snap peas stir fry to the side for extra green veggies.
How to store & reheat
Keep leftover vegetarian kimchi fried rice in a covered container in the refrigerator. It will keep for 3 to 5 days.
Reheat in the microwave or in a skillet on the stove with a little oil. Add another splash of tamari if it seems dry.
FAQ
If you don't have cold rice on hand, here's a workaround. Make a fresh batch of rice. Spread it out on a baking sheet. Then freeze it for 15 minutes until cooled. Then continue with the recipe as written.
More fried rice recipes
Can't get enough fried rice?
Try these other fried rice recipes:

If you try this recipe and love it, let me know! Leave a comment and ⭐⭐⭐⭐⭐ rating in the comment section below. It truly makes my day and is such a help!
📖 Recipe

Easy vegan kimchi fried rice
Ingredients
- 2 Tablespoons melted coconut oil or avocado oil
- 1 medium onion white, peeled, trimmed, and chopped
- 8 ounces kimchi roughly chopped* (Or up to 16-ounces if you prefer more)
- 1 ½ cups frozen green peas
- 3 cups cooked rice chilled
- 1 Tablespoon tamari reduced-sodium
- 1 Tablespoon kimchi brine
Instructions
- Heat 1 tablespoon of oil on medium-high heat in a large skillet or wok. Add the onion and cook until it starts to brown, about 5 minutes. Stir occasionally.
- Add the kimchi and cook until it isn't too juicy anymore and is heated through, about 5 minutes. Add the green peas and cook until bright green and heated through, about 3 minutes. Set aside.
- Break the rice apart with a spoon to remove clumps. In another skillet, heat the remaining 1 tablespoon of oil on medium-high heat. Add the rice to the oil and cook until heated through and crisp, about 3 minutes.
- Add the tamari and kimchi brine, and cook until absorbed and fragrant, about 2 minutes. Be sure to stir occasionally.
- Stir the rice into the vegetables to combine. Cook for another 2 minutes to let the flavors meld.
- Serve with your garnishes of choice like chopped dry roasted peanuts, sesame seeds, thinly sliced scallions, crumbled roasted nori sheet, and/or mild-flavored fried or baked tofu.
Notes
Nutrition
Disclosure: I received a complimentary copy of Bold Flavored Vegan Cooking for review purposes.
Content, recipe, and photos updated May 25, 2021. Originally posted July 20, 2017.


Alina @VeganRunnerEats
Oh my, this dish sounds right up my alley! Kimchi has been a huge helper to get me excited about eating during my current pregnancy as my appetite is often nonexistent. Thank you for sharing, Cadry! Plus, the book sounds amazing!
Cadry
That’s too bad that your appetite has taken such a dive! I’m glad you’ve found something that helps at least. I hope you enjoy the kimchi fried rice if you decide to make it!
Bianca Phillips
This sounds amazing! I love Celine’s books, and I didn’t even know about this one! But I’m all about bold flavors, so I must get it.
Cadry
This dish (and whole book really) are totally Bianca. You would be all over it!