
Almond milk is easy & fun to make. Drink it by the glassful. Or add it to recipes as a one to one replacement for dairy milk.
Vegan, gluten-free, and soy-free.

One thing that's super handy about being vegan is how easy it is to make staples when you run out.
Back when I drank dairy milk, if I ran out, I didn't have a lactating cow in the backyard.
But now, if my cereal bowl needs filling but I’m out of non-dairy milk, it's not hard to make my own.
Some of the easiest non-dairy milks to make are nut-based. It's just a matter of blending nuts with water, straining, and drinking.
(If you desire, you can add a few other ingredients to round out the flavor, but more on that in a bit.)
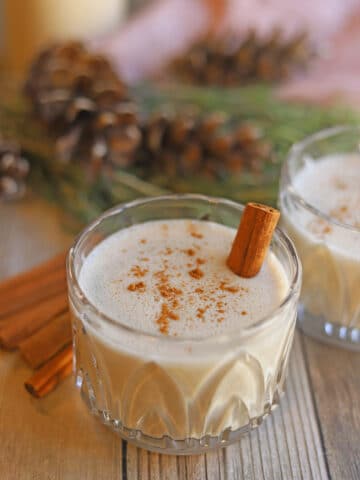
Almond milk is beautifully neutral. It is a delicious addition that doesn't take over. But it is still totally drinkable by the glassful.
Depending on how much water you add, it can be really thick & creamy like a whole milk, or thinner & more gulpable like a skim milk. I like to stick somewhere around the middle, like a 2%.
In this post:
Ingredients
Here are the ingredients you will need to make this recipe.

Raw almonds: Look for raw almonds in the nuts & seeds section of the grocery store. Or you can buy them online.
Water: Since it makes up a bulk of this liquid, I recommend using purified water that has a good, clean flavor.
Salt: A pinch of salt brings this mild flavor to life.
Sweetener: For added sweetness, add pitted dates, agave syrup, date syrup, or maple syrup.
Optional flavoring: For added flavor, add vanilla extract, cocoa powder, or cinnamon.
Step by step instructions
This section shows how to make this recipe at a glance with process photos of the steps. For complete ingredient amounts & instructions, keep scrolling to the recipe card below.
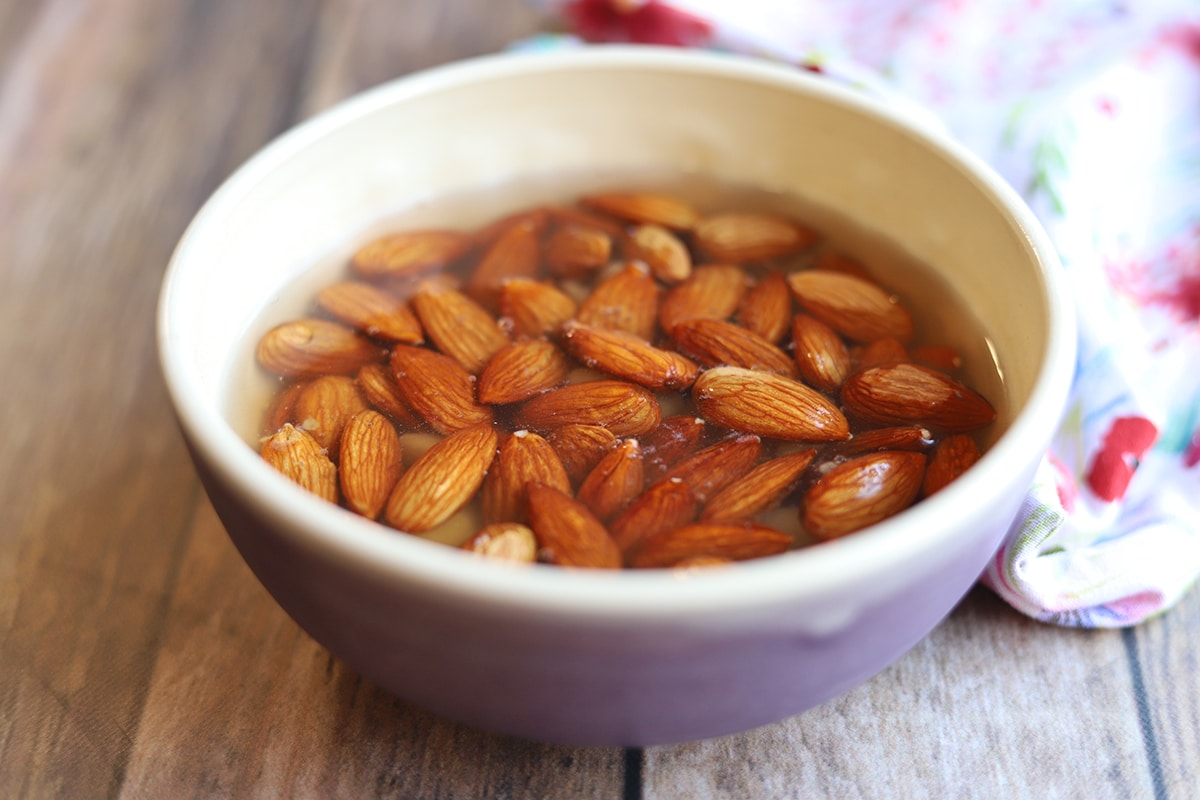
Pour almonds into a bowl, and cover them in water.
Then move them to the refrigerator to soak several hours or overnight. This helps the almonds to soften for easier blending.
Once you're ready to make the milk, drain them.

Put the following into a blender:
- Soaked raw almonds
- Water
- Pinch of salt
- Agave syrup
If you'd like a bit of vanilla flavor, add a splash of vanilla extract as well.
(I prefer to leave the vanilla out of mine, because then the almond milk can be used for savory applications as well as sweet. Vanilla almond milk isn't recommended in vegan quiche, for example. If you're making a sweet recipe and do want the vanilla flavor, you can add it then.)
Blend a minute or two, until you don't hear the sounds of solids cracking up in the blender.
Then use a clean spoon to give it a taste. Add additional sweetener if you prefer.

Put a nut milk bag into a large glass jar or pitcher with the bag folded over the sides.
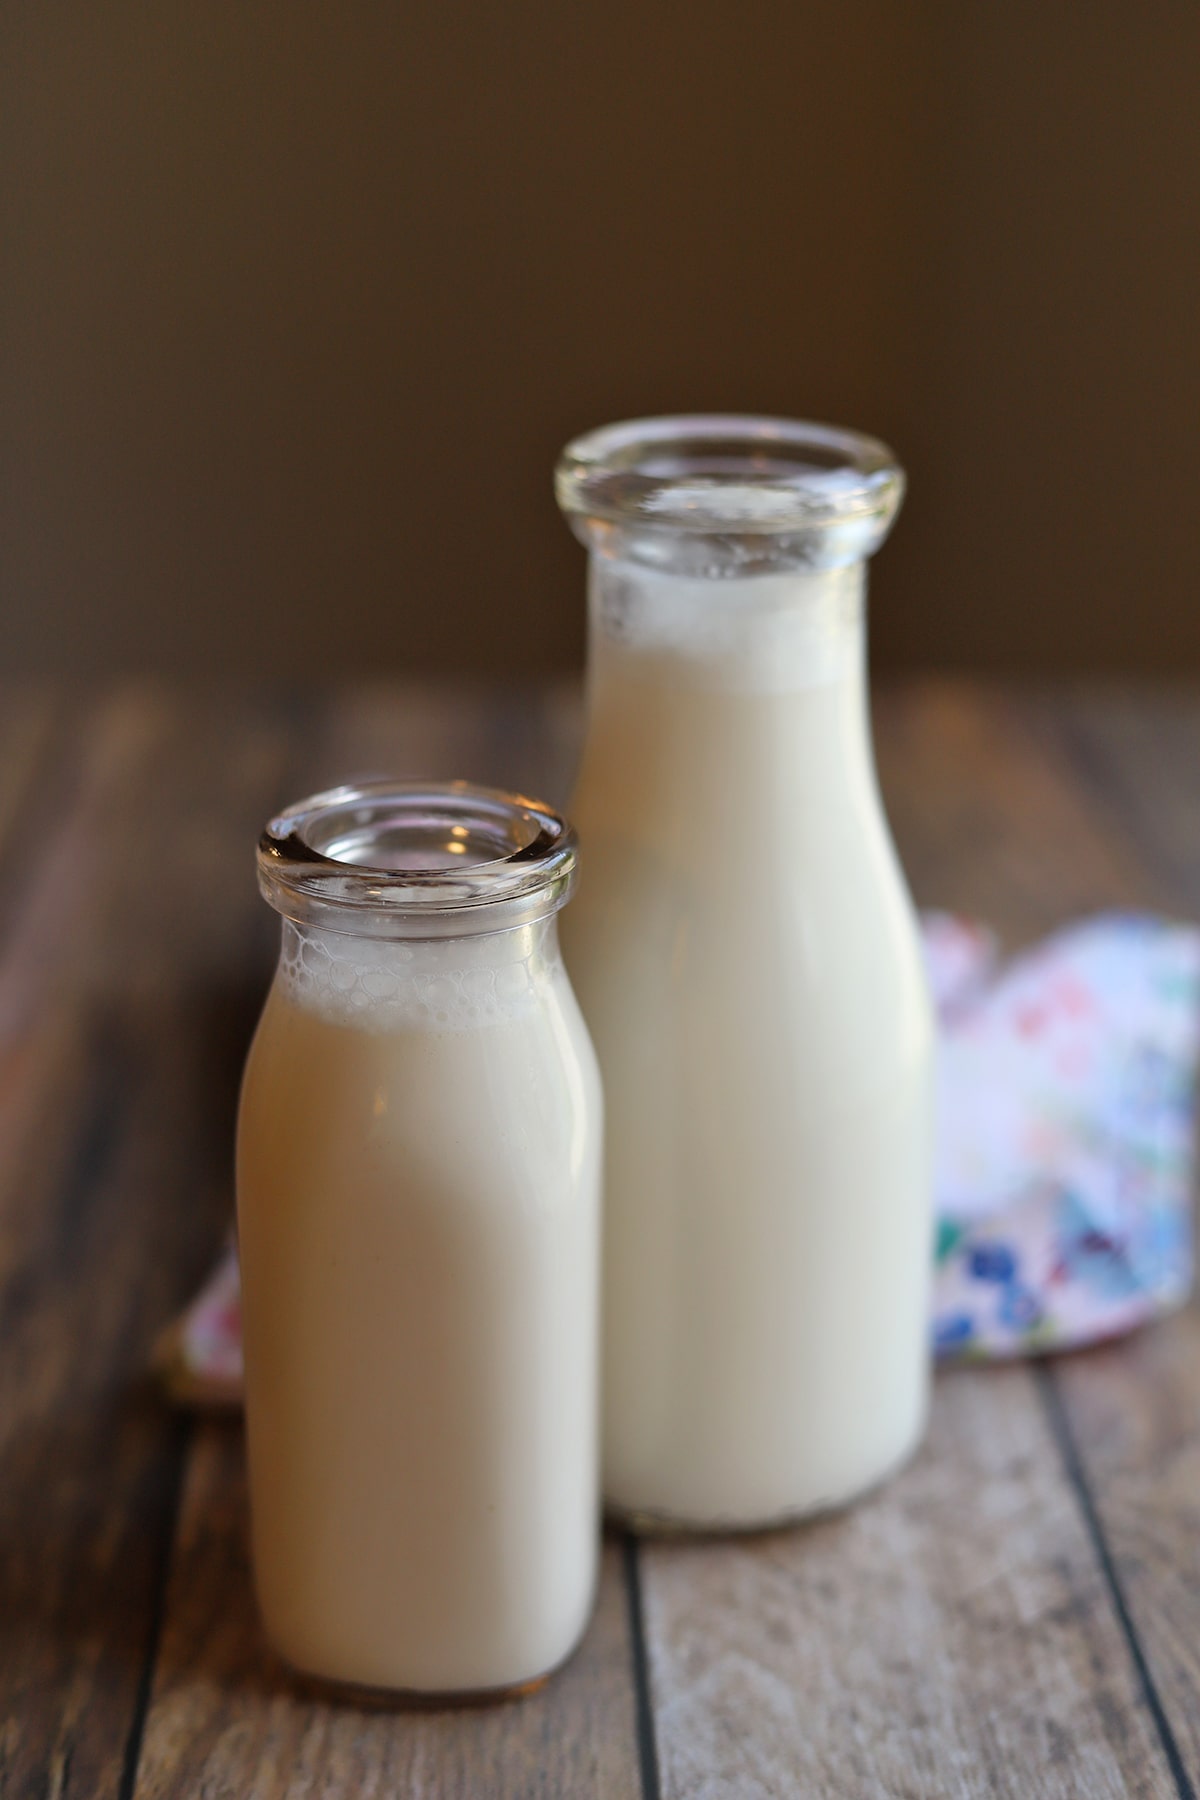
Slowly pour the milk from the blender through the bag and into the jar.
Once it's three quarters full, use your hands to squeeze out the remaining milk, leaving behind the almond pulp.
If there’s still more milk in the blender, put the bag into a second jar. Pour the remaining milk from the blender through the nut milk bag, and into the jar. Gently squeeze the bag to get out any remaining milk.
If a jar isn't convenient or the mouth of the jar isn't wide enough for your hands, pour the almond milk through a nut milk bag or cheesecloth and into a mixing bowl instead.
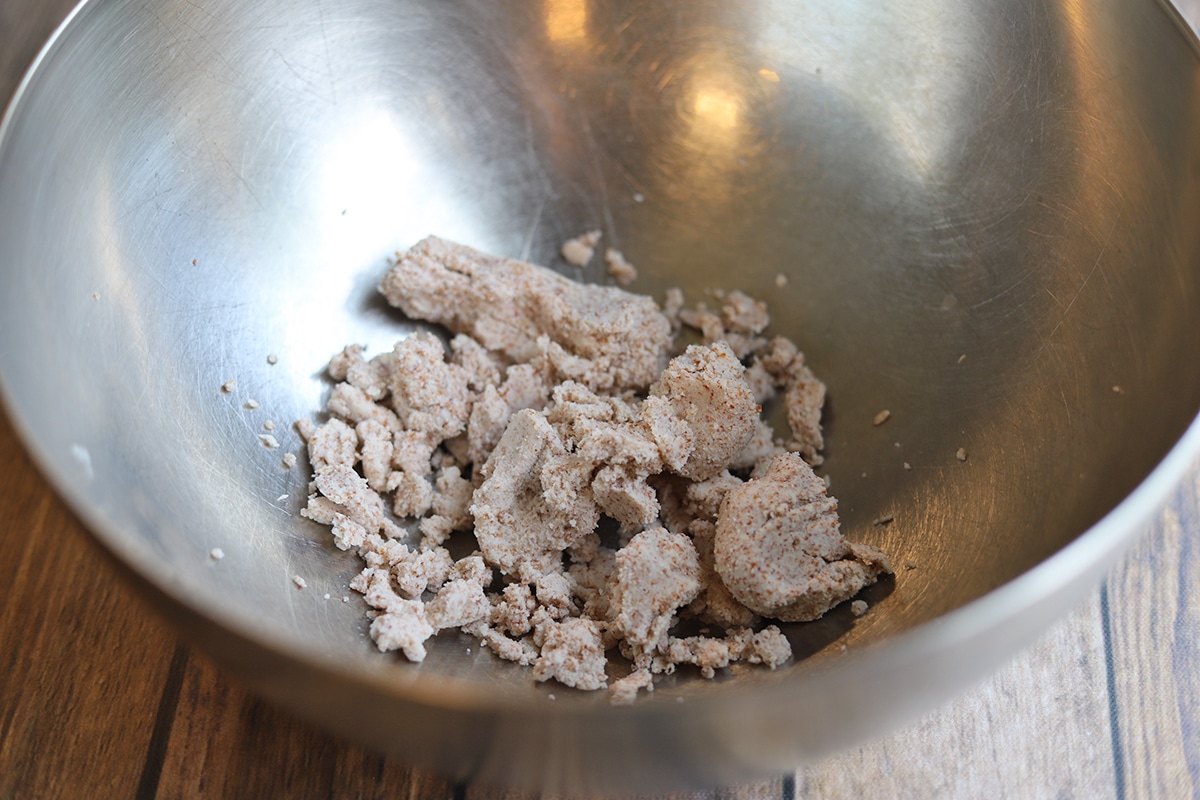
After all of the milk is squeezed out, you will have almond pulp leftover. You can freeze the pulp, use it in smoothies, or add it to baked goods.
Serving ideas
Use almond milk in any recipe that calls for dairy or non-dairy milk.
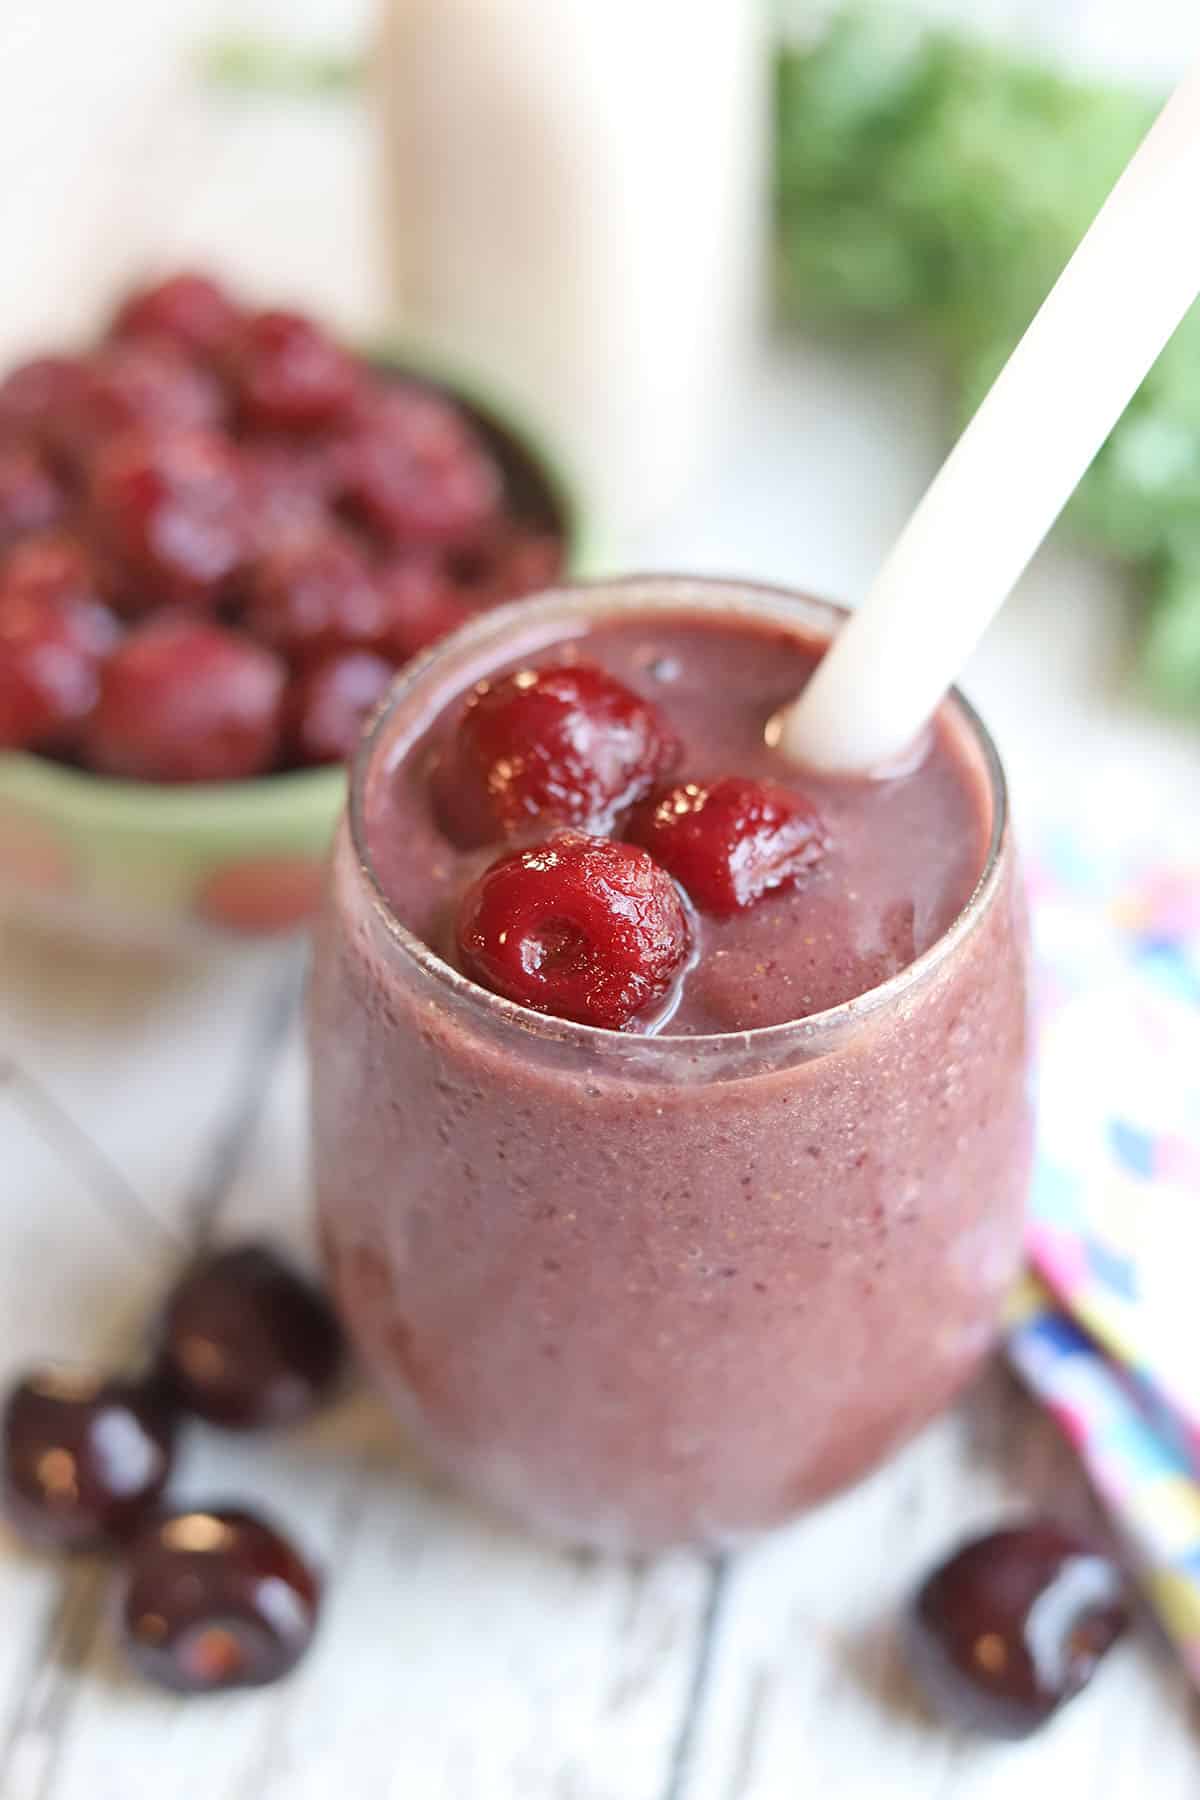
It is a perfect addition to smoothies:
- Cherry smoothie
- Mango banana smoothie
- Blueberry banana smoothie
- Peanut butter banana smoothie
- Chocolate peanut butter cup smoothie
It's also good in breakfast recipes like apple cinnamon pancakes. Or it can be a creamy addition to tomato soup.
Use it to make a chocolate peanut butter sauce for grilled banana splits. It’s an eye-catching finish on an orange creamsicle cocktail.
Storage instructions
Homemade almond milk lasts about 5 days in the refrigerator.
Because it doesn’t include any gums or emulsifiers, you will notice some separation as it sits. Simply give it a shake or stir before using.
More nut milk recipes

For more vegan, dairy-free milks, check out these recipes:
FAQ
Nut milk bags are convenient because they can easily hold the pulp afterwards. And they stay in place in a jar when pouring liquid through it. However, you can use a cheesecloth, a thin linen kitchen towel, or even a clean cotton t-shirt in a pinch.
If you'd like this milk to be thicker & creamier, use less water when blending. You can use as little as 3 cups. If you like a thick creamer for your coffee, this is a good way to go.
If you'd prefer a thinner milk, use more water. You can use as much as 6 cups.
No, you don't have to use sweetener.
There's not much agave syrup in this, because I only like a little bit of sweetness. However, if you'd prefer none, you can leave it out.
Conversely, if you prefer a sweeter milk, add more agave syrup, date syrup, or pitted dates, and then blend.
If you don't have access to agave syrup, you can blend the almond milk with one or two pitted dates or date syrup instead.
If you try this recipe and love it, let me know! Leave a comment and ⭐⭐⭐⭐⭐ rating in the comment section below. It truly makes my day and is such a help!
📖 Recipe

Homemade almond milk
Ingredients
- 1 cup raw almonds
- 4 cups water Plus extra for soaking
- Pinch of salt
- 1 teaspoon agave syrup or date syrup or 2 pitted dates
Instructions
- Pour raw almonds into a bowl. Cover them in water. Then put them into the refrigerator to soak for several hours or overnight. (Short on time? Pour hot water over them instead, and let them soak for about a half an hour.) Then drain the almonds.
- Pour the soaked raw almonds into a blender along with four cups of water, a pinch of salt, and agave syrup. Blend for a minute or two, until the loud sounds of almonds cracking can't be heard.
- Use a clean spoon to taste the almond milk. Add more sweetener to taste.
- Put a nut milk bag into a large jar or pitcher. Fold the edges of the bag over the sides to secure it. Then pour the almond milk through the nut milk bag and into the jar or pitcher. Once it's three quarters full, use your hands to squeeze any additional milk from the bag into the jar. If there is still more milk left in the blender, move the bag to a second jar or pitcher, and pour the rest through it. Squeeze the bag to get all of the milk from the almonds.
- Keep the covered jar or pitcher in the refrigerator for up to 5 days.
Notes
- Up to a teaspoon of vanilla extract
- 1 or 2 Tablespoons of cocoa powder
- A dash of cinnamon
Nutrition
Content updated March 26, 2025. Originally posted July 2011.


FeNiX
For a great way to reuse the pulp, dehydrate it either in a dehydrator or in the oven if you don’t have one, and then grind down in a coffee blender (unless you have a flour mill) to make your own almond meal/almond flour (or whatever type of nuts you’re milking) for use in baking! Though be careful not to grind for too long as it will start to form nut butter from the heat and if milled too fine (and if that’s your desire, then why not… keep going to make homemade nut butter!) 😉
FeNiX
…and btw, to strain the nut milk I use a jelly bag (easily found in the canning department of most grocery or hardware stores that sell canning supplies), or others say something similar can be found at brew shops (by asking for a ‘hops bag’). It works great and is a good size as I can fold the edge over around the rim of a 1 litre pitcher and secure it with a rubber band (the rim width on the pitcher I use is similar to a wide mouth mason jar) and the bag doesn’t hang too low or isn’t so big and floppy that it’s a big mess of fabric to try to contain/control when shoving into the pitcher. Supposedly paint strainers are similar, but I’d be leary of using possibly non-food grade materials just to save a couple of dollars, especially when the jelly bags are cheap enough anyways and often come in a set of 2. Plus jelly bags wash up very easily and dry quickly to boot!
FeNiX
…sorry, one last comment that I forgot to mention… while you wouldn’t want to re-use the water from soaking the almonds overnight in anything you’ll directly consume because they contain enzyme inhibitors which prevent nutrients from properly digesting in the human body (which is why nuts/legumes are soaked and sprouted for optimal health… not just to soften for milking such as for this purpose in making non-dairy milk), instead of throwing that water out, use it to water your plants instead… they’ll love you for the nutrient-infused “super-water”!! 🙂
Cheerfully Vegan
Okay…I faithfully read EVERY comment figuring that somebody else would have already asked, but either I’m the only who doesn’t know, or nobody wants to admit that they don’t know. What is a cootie catcher? 😀
I bought some cheesecloth and washed it so I could try again to make almond milk (my first attempt I didn’t strain per a friend’s opinion and it was pretty sluggy to drink.) It looked so loosely woven that I couldn’t see how my almond milk would be any better with it…so it sits in my drawer and I keep buying soy milk instead. Maybe I shall try again with the fine mesh strainer like one reader commented….
Cadry
Ha! This comment made me laugh! Cootie catchers are made by folding paper origami-style. Did you ever make fortune tellers as a kid? They’re folded in the same way, except that underneath certain flaps you make dots that are supposed to be cooties and pretend to “catch” them on another person.
Sometimes I double or triple fold my cheesecloth. Maybe you could try that if you feel like yours is too loosely woven. I also bought a nut milk bag that’s specifically for that purpose, but since I bought it, I haven’t made nut milk again!
Have you tried making cashew milk? That is my favorite nut-based milk, and I don’t strain it. However, maybe you would find it sludgy too. Are you using a high speed blender? If not, maybe that’s what is making the difference.
Cheerfully Vegan
I used a vitamix, so that isn’t the problem. I haven’t tried cashew milk, though I use cashews as a base for many creamy things. I’ll have to try it again.
Bea
When I made my first almond milk it didn’t taste good enough to drink, so I added some cinnamon. This way it’s delicious! The leftover pulp… till now I was adding it to green smoothies. Next time maybe I’ll try using it while baking as you say people do.
Very nice blog, I’ll be stopping by. 😉
Cadry
I can see cinnamon being a delicious addition! I imagine it gives the almond milk a bit of a horchata feel.
Krysta
I just stumbled upon your blog today. Certainly bookmarking it.
When I make almond milk I use a super-fine metal strainer, which is easier to manage than cheesecloth. You could run it through a normal mesh strainer and then through cheesecloth (I’ve had good luck with muslin bags), which makes the fabric easier to clean. The downside to the strainer is that you can’t squish as much moisture out of it as you can with fabric, but the cleanup is so much easier, it’s worth it for me.
I put the leftover almond meal onto a tray and bake it in the toaster oven. You can store almond meal in the fridge for a long time.
Cadry
Thanks, Krysta! Great tips!
veganonearth
Excellent blog! The almond milk looks fantastic!
Cadry
Thank you! That’s nice to hear!
Suburban Snow White
Wow. Is that all that is involved? I had no idea!
By the way, where can one get cheesecloth cheaply? I see it at Whole Foods sometimes, and it doesn’t look like there’s a lot in their package.
Also, are the bits that you strain through the cheesecloth good for anything, or is it mostly the thin husks on the nuts?
Thanks for the inspiration, Cadry!
cadryskitchen
Isn’t it amazingly simple? Now it seems silly that I’ve been buying non-dairy milk all these years! I made soy milk recently (post soon to follow), and I’d like to make rice milk at some point. That’s my favorite milk. Great questions about the cheesecloth and almond pulp! I’ve updated my post to include the answers.