
Make your bread board spook-tacular with Halloween vegan butter skulls.
These compound butter skulls are made with sun-dried tomatoes, garlic, and fresh basil whipped into softened non-dairy butter, and then formed into silicone skull molds.
Serve with crusty bread for slathering. “Bone appétit!”

Halloween is one of those holidays that makes you feel like a kid again – delighting in chills and thrills, and looking for a bit of spooky fun in everyday life.
October is also the start of entertaining season when people are gathering for pumpkin carving and costume parties.
If you’re looking for something outside the box for your guests this Halloween, make my simple vegan butter skulls for a bread plate or vegan charcuterie.
You start with plain store-bought vegan butter. Let it soften, then whip in sun-dried tomatoes, fresh basil, and garlic for delicious flavor that really pops.
Press it into silicone molds, and refrigerate until solid. So easy to do, but immediately eye-catching!
These creepy non-dairy butter spreads are terrific slathered onto sourdough, baguette, or Trader Joe’s olive fougasse bread. And they’re a terrific addition to a Halloween charcuterie board.
You can also put vegan butter skulls on top of mashed potatoes, warm noodles, or roasted veggies for yummy, melty goodness that will have you saying, “Crani-yum!”
In this post:
Ingredients
Here are the ingredients you will need to make this recipe.
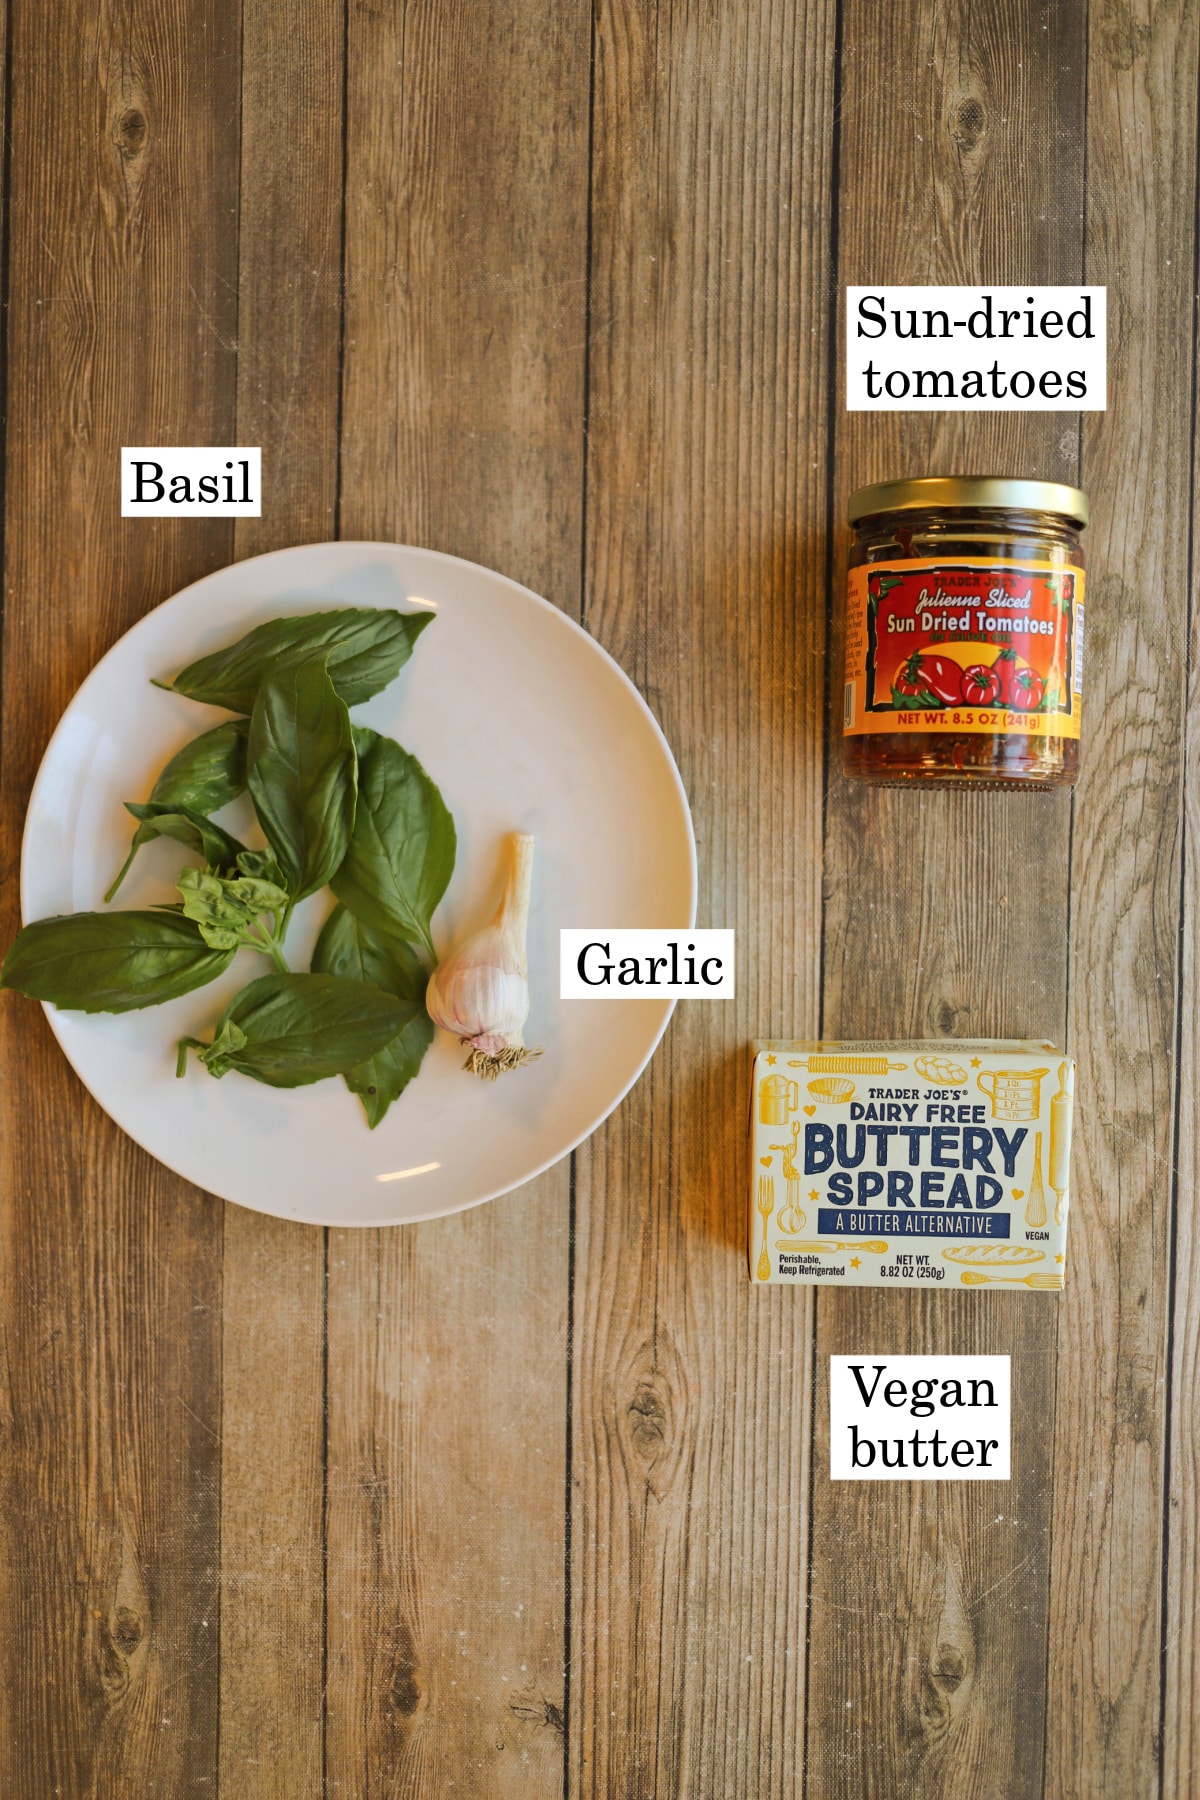
Vegan butter: Aim for about 8 to 8.8 ounces of vegan butter, which is typically two sticks or one block, depending on the brand. If you’re using a tub, measure the amount by weight on a kitchen scale.
I used Trader Joe's dairy-free buttery spread, which comes in an 8.8-ounce block. However, it has been discontinued. It’s very likely repackaged Violife, so that makes a good alternative. Miyoko's is another popular option.
Sun-dried tomatoes: Choose oil-packed sun-dried tomatoes. (Drain off any excess oil when grabbing a tablespoonful.) Look for it near the Italian ingredients in the center aisles of the grocery store.
Fresh basil: Use bright green, unwilted leaves, and cut thin slices with kitchen shears or a sharp knife just before mixing to keep the color fresh.
Garlic: Adds a savory depth and subtle bite that works in harmony with sun-dried tomatoes and basil.
Step by step instructions
This section shows how to make this recipe at a glance with process photos of the steps. For complete ingredient amounts & instructions, keep scrolling to the recipe card below.

1. Whip softened butter in a food processor or bowl with a fork.
2. Add sun-dried tomatoes, minced garlic, and fresh basil, and combine. (Stop to stir down the sides for even mixing.) Give it a taste on a piece of bread, and add more basil, garlic, or sun-dried tomatoes if you like.
3. Use a spoon to spread the compound butter into the cavities of a skull-shaped silicone candy mold.
For this recipe, I used a mold from Michael’s with 1 ½ inch skulls (Makery brand), but you can find similar silicone molds at other craft stores or online. You’ll either need to make multiple batches with one mold, or grab three to fill them all at once.
Transfer to the refrigerator, and allow the skulls to harden.
4. To check if they’re done, lightly touch the skulls. Once they feel firm, remove them from the molds.
If you’re serving these butter skulls as part of a charcuterie board, I recommend freezing them beforehand, so that they will soften slowly and keep their shape as guests arrive.
Getting the perfect form for butter molds

For all three recipes, I whipped up softened vegan butter and then stirred in my mix-ins. Then after the compound butter was complete, I decided to see how varying degrees of softened butter would affect the look of the skulls.
(For molded compound butter recipes, it’s generally recommended that people use butter that is soft enough to press into with a finger but still offers a slight resistance.)
- For the first mold, I spread the soft compound butter right into the mold using a spoon.
- For the second mold, I put the compound butter into a microwave-safe bowl, heated it for 5 to 10 seconds, and partially melted it. I stirred to reincorporate it, and then I transferred the vegan butter into the mold.
- For the third mold, I put the compound butter into a microwave-safe bowl and completely melted it. Then I poured it into the mold.
I discovered that while all three versions tasted great, they produced different amounts of clarity.
Surprisingly, the clearest results came from trial number two (partially melted vegan compound butter transferred into the molds). The partially melted butter retained its color but still got into every crevice for very clearly defined skulls.
Trial number one, which was the “right” way to do it, had the same great color, but it didn’t get into the crevices quite as well, so the lines of the skulls were a little softer.
Trial number three with fully melted butter was clearly defined, but the color was darker and more oily because of separation. Not a bad look for spooky season, though, as they look the scariest.
Anyway, you can’t go wrong with any of the methods. But I thought it was interesting how much the solid or liquid state affected the final result, and that doing it the “right” way didn’t actually produce the best results. Your results may vary!
Personalize your vegan butter skulls

You can easily personalize these non-dairy butter skulls to suit your tastes and preferences.
Vary the flavor
Try making the Halloween butter with one of my other go-to vegan compound butter flavors – dill and lemon zest or chive and garlic.
Vary the form
There are endless silicone candy molds available. Explore it with other Halloween shapes like ghosts, cats, pumpkins, or brains.
Or go outside the Halloween theme, and use any silicone mold you fancy like leaves, flowers, hearts, or snowflakes.
Storage & freezing tips
Store vegan compound butter skulls in an airtight container in the fridge for up to 5 to 7 days.
They also freeze beautifully for up to 3 months.
To freeze, you can carefully put them into a freezer-safe container, being careful not to let them touch. Or put the skulls onto a parchment-lined baking sheet, fully separated, and freeze. Once frozen, transfer them to a freezer bag for easy storage.
When you’re ready to eat it, the butter can be enjoyed almost immediately straight out of the freezer, but the skulls will continue to soften as they come to room temperature.
FAQ
I like to use salted vegan butter for this recipe. Salt makes the flavors pop, and salted non-dairy butter is easier to find than unsalted. (If you’d rather use unsalted and then salt to taste, Violife does make an unsalted version.)
I don’t recommend it for this recipe. Dried basil just doesn’t have the same pop and flavor.
To initially whip the vegan butter, it needs to be soft but not melted. If you want it to soften more quickly, cut the butter into cubes.
(The surrounding butter keeps it cool. So by adding more surface area to each cube, they’re coming into more contact with warmer surrounding air.)
If it’s still not softening fast enough, use your hands to smash the butter in a bowl before whipping and adding your mix-ins. The warmth of your hands will soften it.
Absolutely. Just whip the soft butter with a fork or hand mixer in a bowl, and then stir in mix-ins.
If you’re not using a food processor, make sure that the mix-ins you add are chopped small (especially the sun-dried tomatoes, which can be quite chewy).
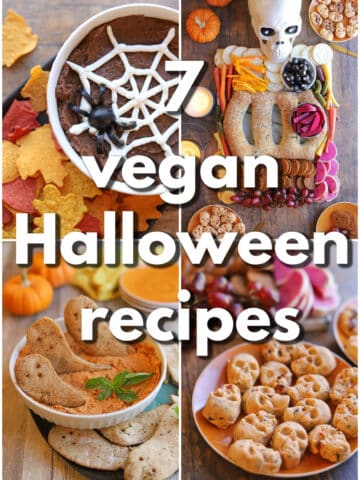
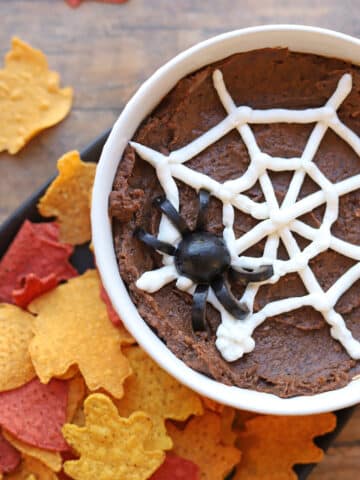
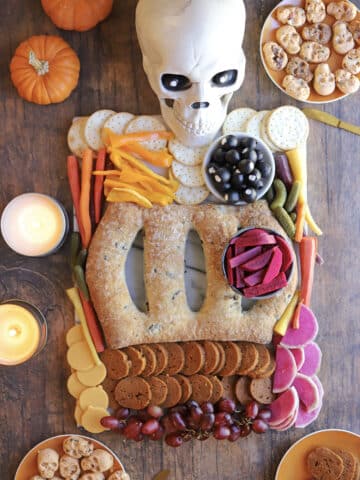
Absolutely! Check out this Halloween party food round-up for plenty of ideas for your next pumpkin carving night or costume party.

📖 Recipe

Spooky vegan butter skulls (Easy Halloween appetizer)
Ingredients
- 8 to 8.8 ounces vegan butter* (about 2 sticks or one block), softened
- 2 to 3 Tablespoons julienne-sliced sun-dried tomatoes packed in oil (Chop small if not using food processor)
- 2 heaping Tablespoons thinly-sliced basil (About 16 small to medium-sized leaves)
- 2 garlic cloves grated, pressed, or minced
Instructions
- In a bowl or food processor, whip the softened vegan butter until creamy and smooth.
- Add sun-dried tomatoes, basil, and garlic. Then stir or pulse until evenly combined.
- Use a spoon to transfer the compound butter into silicone skull molds (or the mold of your choice).**
- Refrigerate until firm. Then remove them from the molds to serve (or refrigerate or freeze for later).(To use all of the non-dairy butter, you'll be able to make multiple batches. So if you like, continue filling, refrigerating, and unmolding until all of the butter has been used. Or if you have more than one silicone mold, you can fill them all at once.)
Watch how to make it
Notes
Nutrition


Leave a Reply