
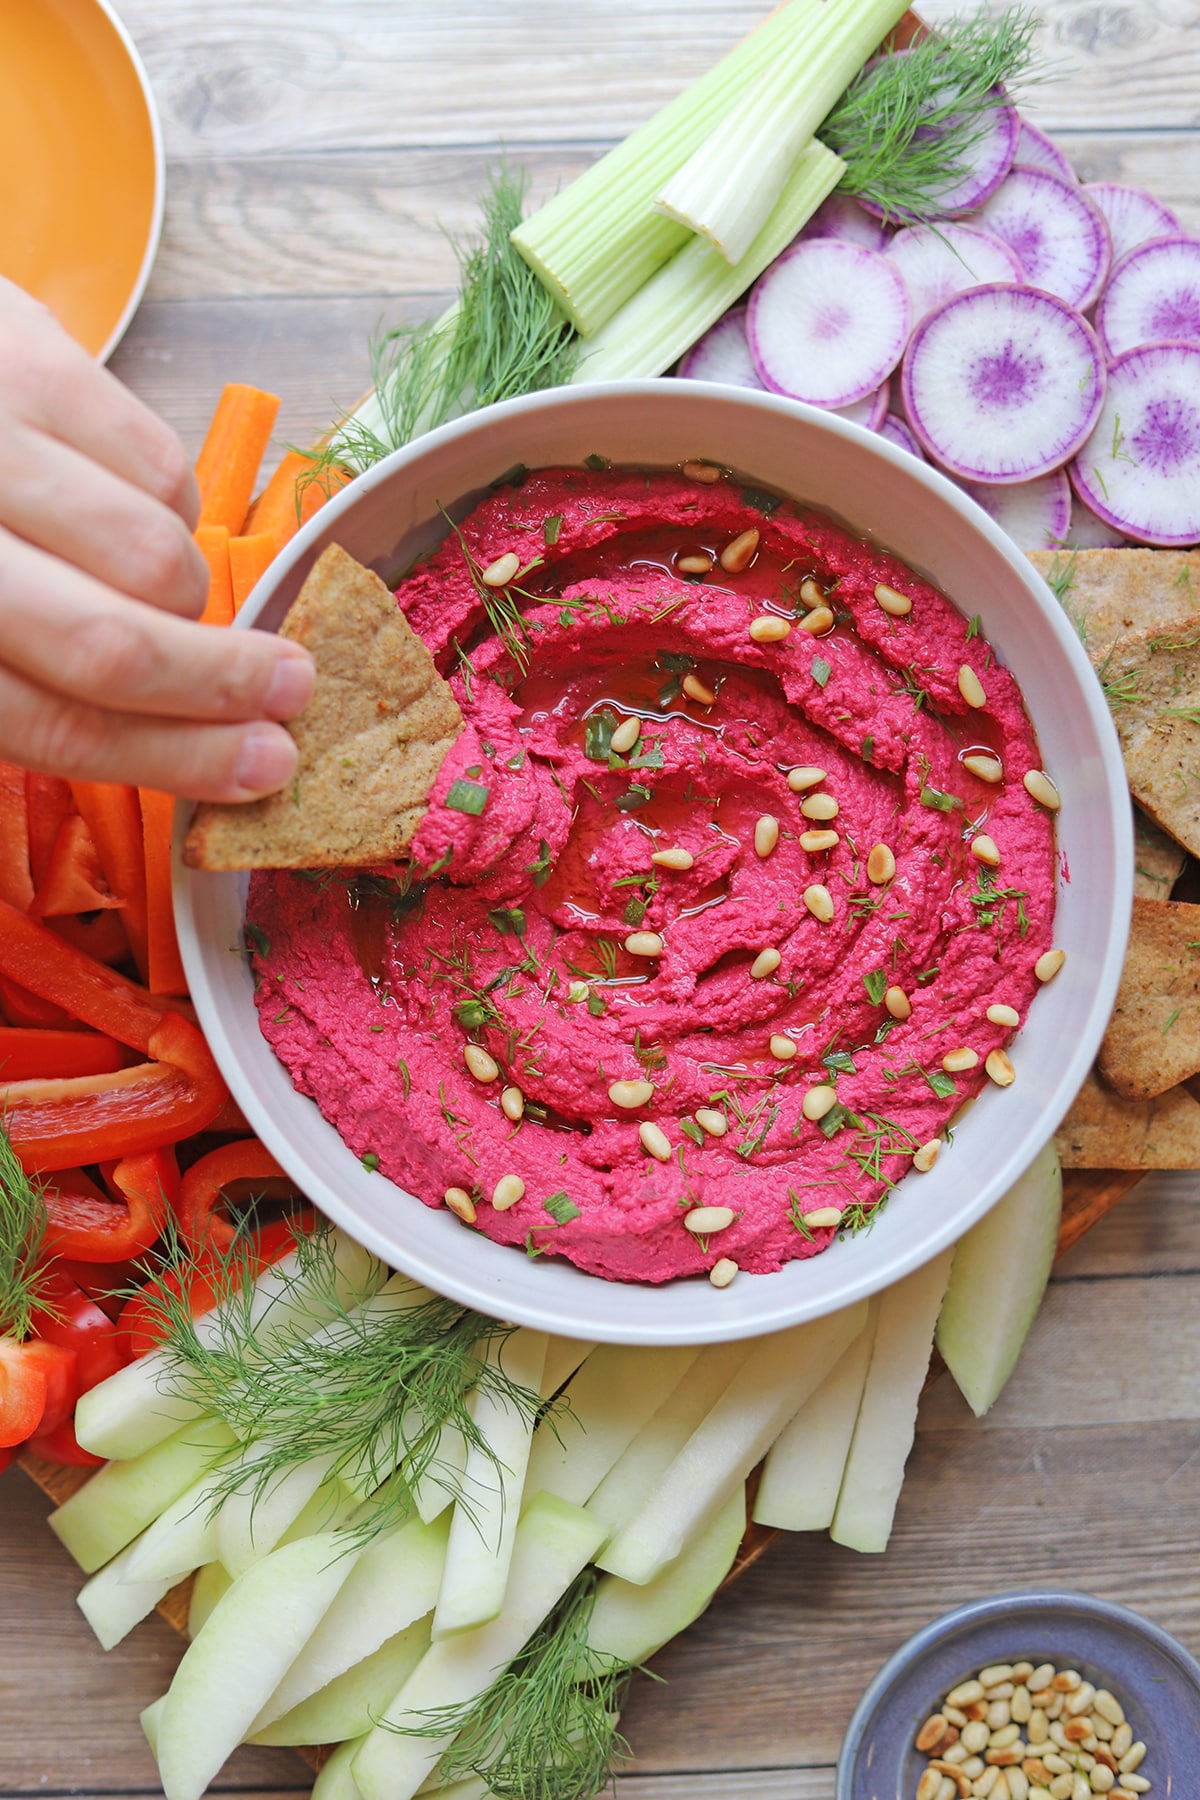
Even ardent beet haters can't resist this vibrant beet hummus recipe! Made with air fryer roasted beets, it's naturally vegan, gluten-free, and deliciously creamy. Plus, you don't have to heat up your oven to enjoy it.
Serve it with your favorite dippers like pita chips, crackers, or crunchy veggies for a colorful appetizer or snack.
(Don't have an air fryer? I include easy oven roasting instructions too.)
The first time I saw beet hummus in a restaurant, I was blown away by that almost neon, hot pink color. I had to stop mid-conversation and ask, “What is that?”
But once I learned it was beet hummus, I was wary. I tend to not like the earthy flavor of beets.
Luckily, I didn’t let that stop me.
I took a bite and was amazed at how roasted beets added a delicious subtle sweetness to the hummus. Roasting mellowed their flavor, and allowed tangy lemon, fresh garlic, and fragrant cumin to shine.
I was immediately smitten.
So nowadays, whenever I get beets in my CSA pick-up, roasted beet hummus becomes an obvious regular on my menu.
However, when it’s blazing hot outside, the last thing I want to do is turn on the oven to roast a beet.
That’s why when I make roasted beet hummus, my preferred cooking method is in the air fryer. It works beautifully, and the beets are ready to use in just 11 minutes!
(That’s quite a timesaver in comparison to wrapping a whole beet in foil, and waiting about an hour for it to be tender.)
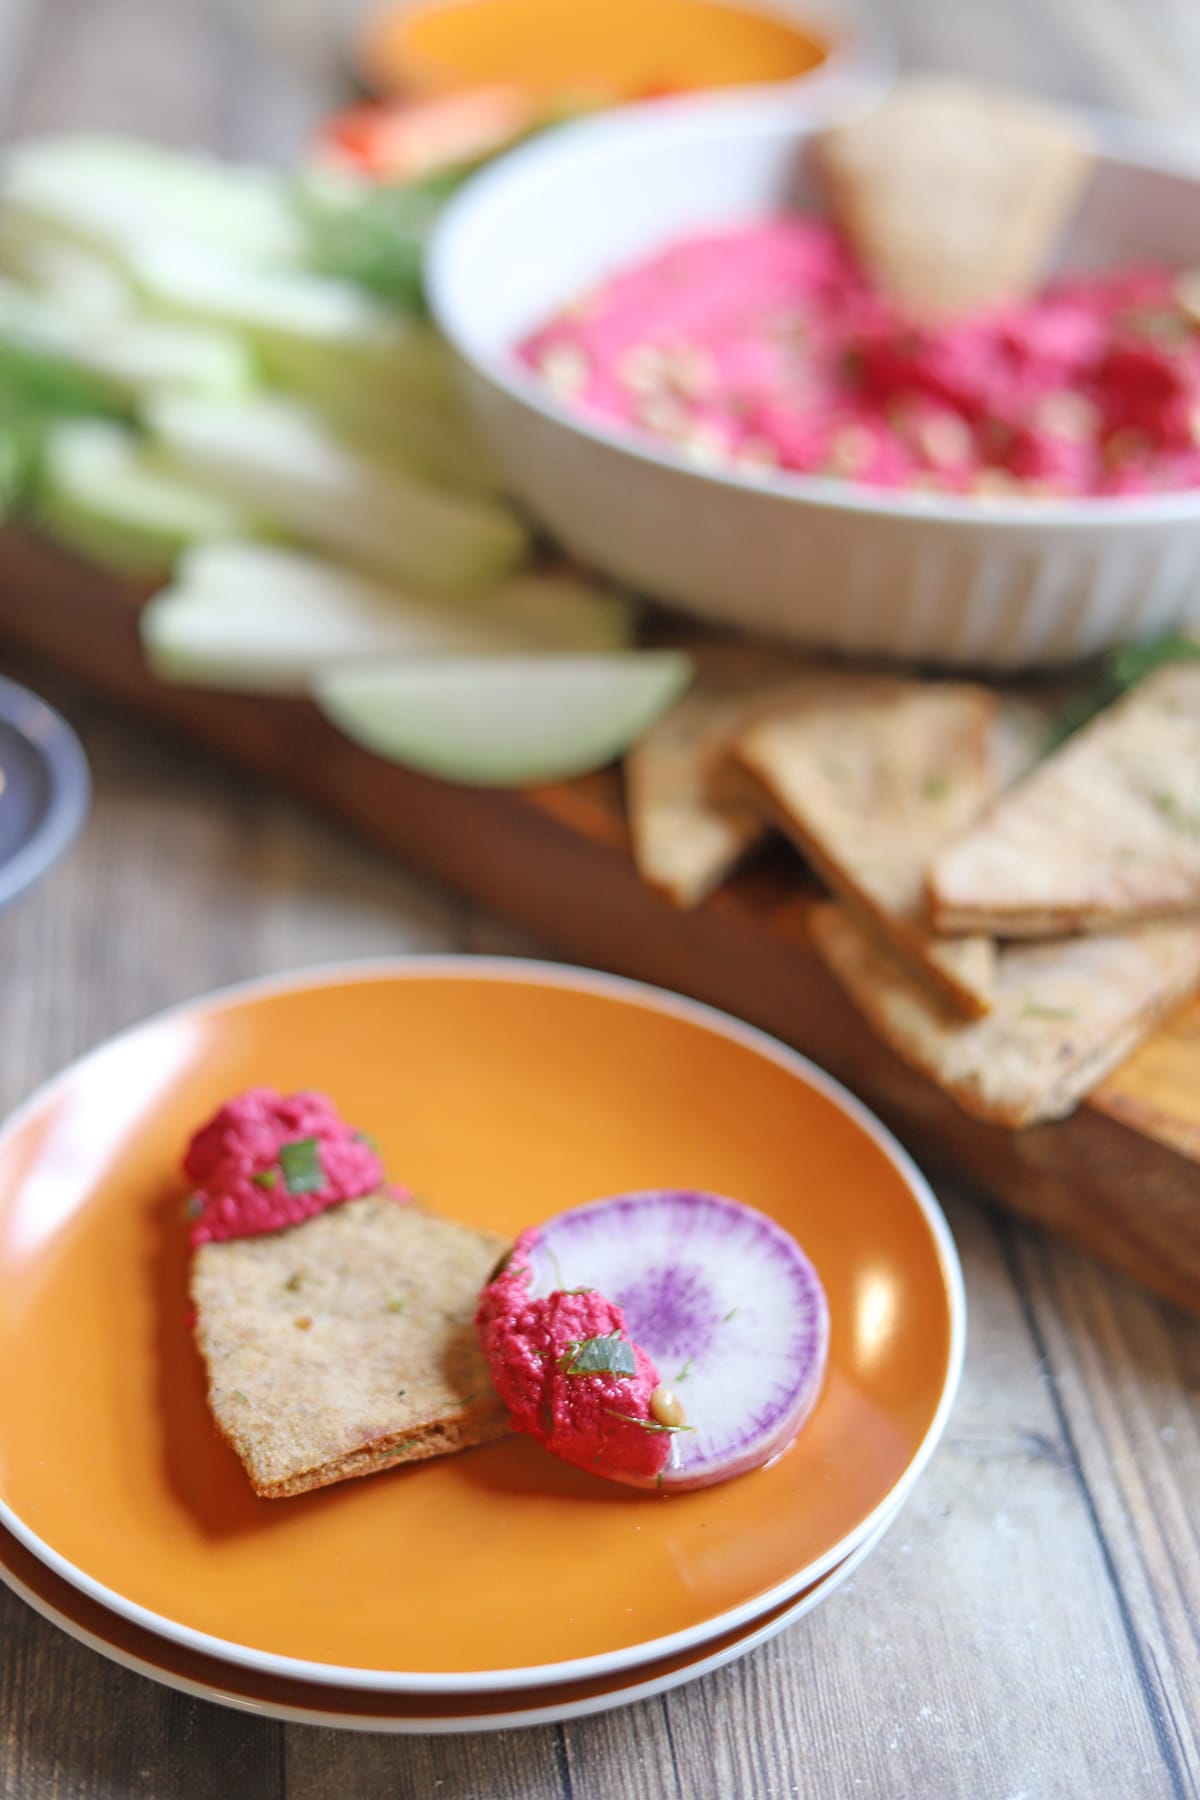
Serve colorful beet hummus with toasted pita chips, olive bread, or crunchy vegetables for dunking. It makes a wonderful dip, spread, or addition to your mezze platter.
In this post:
Why readers love this recipe
“Beautiful recipe, thanks. Beet hummus is in my top two favorite hummus recipes. Followed the recipe to the letter. This needs no tweaks.
When delicious and nutritious is enhanced by the beauty of the dish, what more could one ask? Many thanks!” – Gina
Ingredients
Here are the ingredients you will need to make this recipe.

Beet: Choose a small beet (about 3-ounces) for this recipe. Although you can use any color, a red beet is going to give your hummus the most vibrant pink hue.
Oil: A light coating of oil helps the beet to brown and not stick in the air fryer. I like to use extra virgin olive oil, which can also be used as a garnish on the finished hummus.
Chickpeas: Canned chickpeas (also known as garbanzo beans) are convenient, but home-cooked work just as well. (If you prefer to make them from scratch, you’ll need 1 ½ cups of cooked chickpeas for this recipe.)
Be aware that some chickpeas are softer than others. That may affect how much liquid you need to make your hummus smooth.
Aquafaba: Aquafaba is the liquid inside of a can of chickpeas or other beans, or the cooking liquid from home-cooked beans. It can take the place of oil in the base of the hummus, because it adds creaminess without diluting flavor.
Tahini: Tahini is similar to peanut butter, but it’s made with sesame seeds instead of peanuts. Look for it in the Mediterranean section of most grocery stores or online.
Lemon juice: Freshly squeezed is best. Some lemons are more sour than others, so don’t be afraid to adjust the amount in the hummus to suit your tastes.
Garlic: Fresh garlic has the most bite, but if you prefer a more muted flavor, use granulated garlic or air fryer roasted garlic instead.
Seasonings: Cumin and salt.
Optional garnish: If you like, garnish the finished hummus with a pinch of freshly chopped herbs like parsley, chives, cilantro, or dill. Toasted pine nuts also add contrasting color and crunch.
Step by step instructions
This section shows how to make this recipe at a glance with process photos of the steps. For complete ingredient amounts & instructions, keep scrolling to the recipe card below.
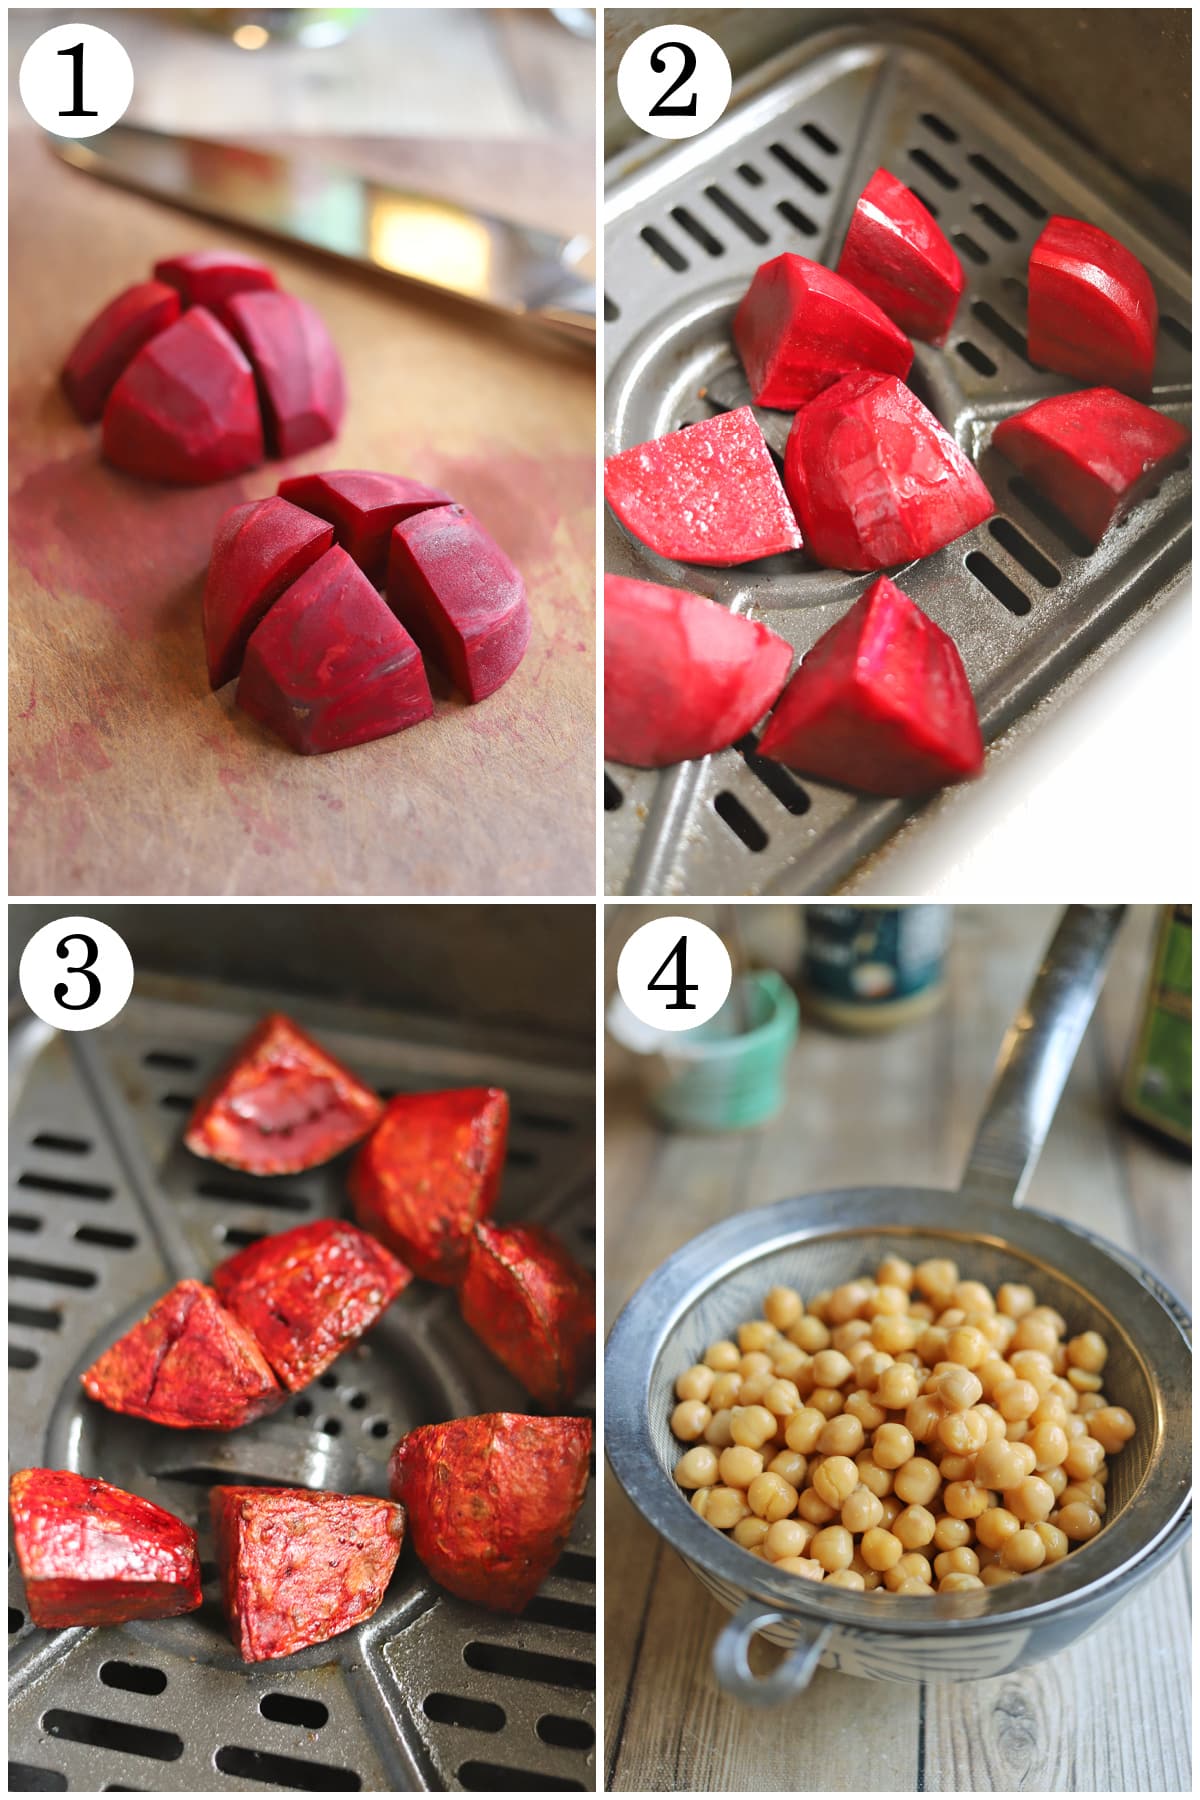
1. Cut the top off of a small beet and peel it. Then cut it in half, and cut those halves into quarters. (Or cut the beet into roughly one inch pieces.)
2. Cover the beet pieces in oil, and add them to an air fryer basket.
3. Air fry at 390 degrees for 11 minutes or until fork tender.
Remember: Every air fryer runs differently. Times given are a general recommendation and should be tested in your own air fryer. Adjust as needed.
4. Put a fine mesh sieve over a bowl and strain the chickpeas from a can, reserving the chickpea liquid.
Note: You’ll need the chickpea liquid, also known as aquafaba. So don’t throw the liquid down the drain. Not a fan of aquafaba? Use water or extra virgin olive oil instead.
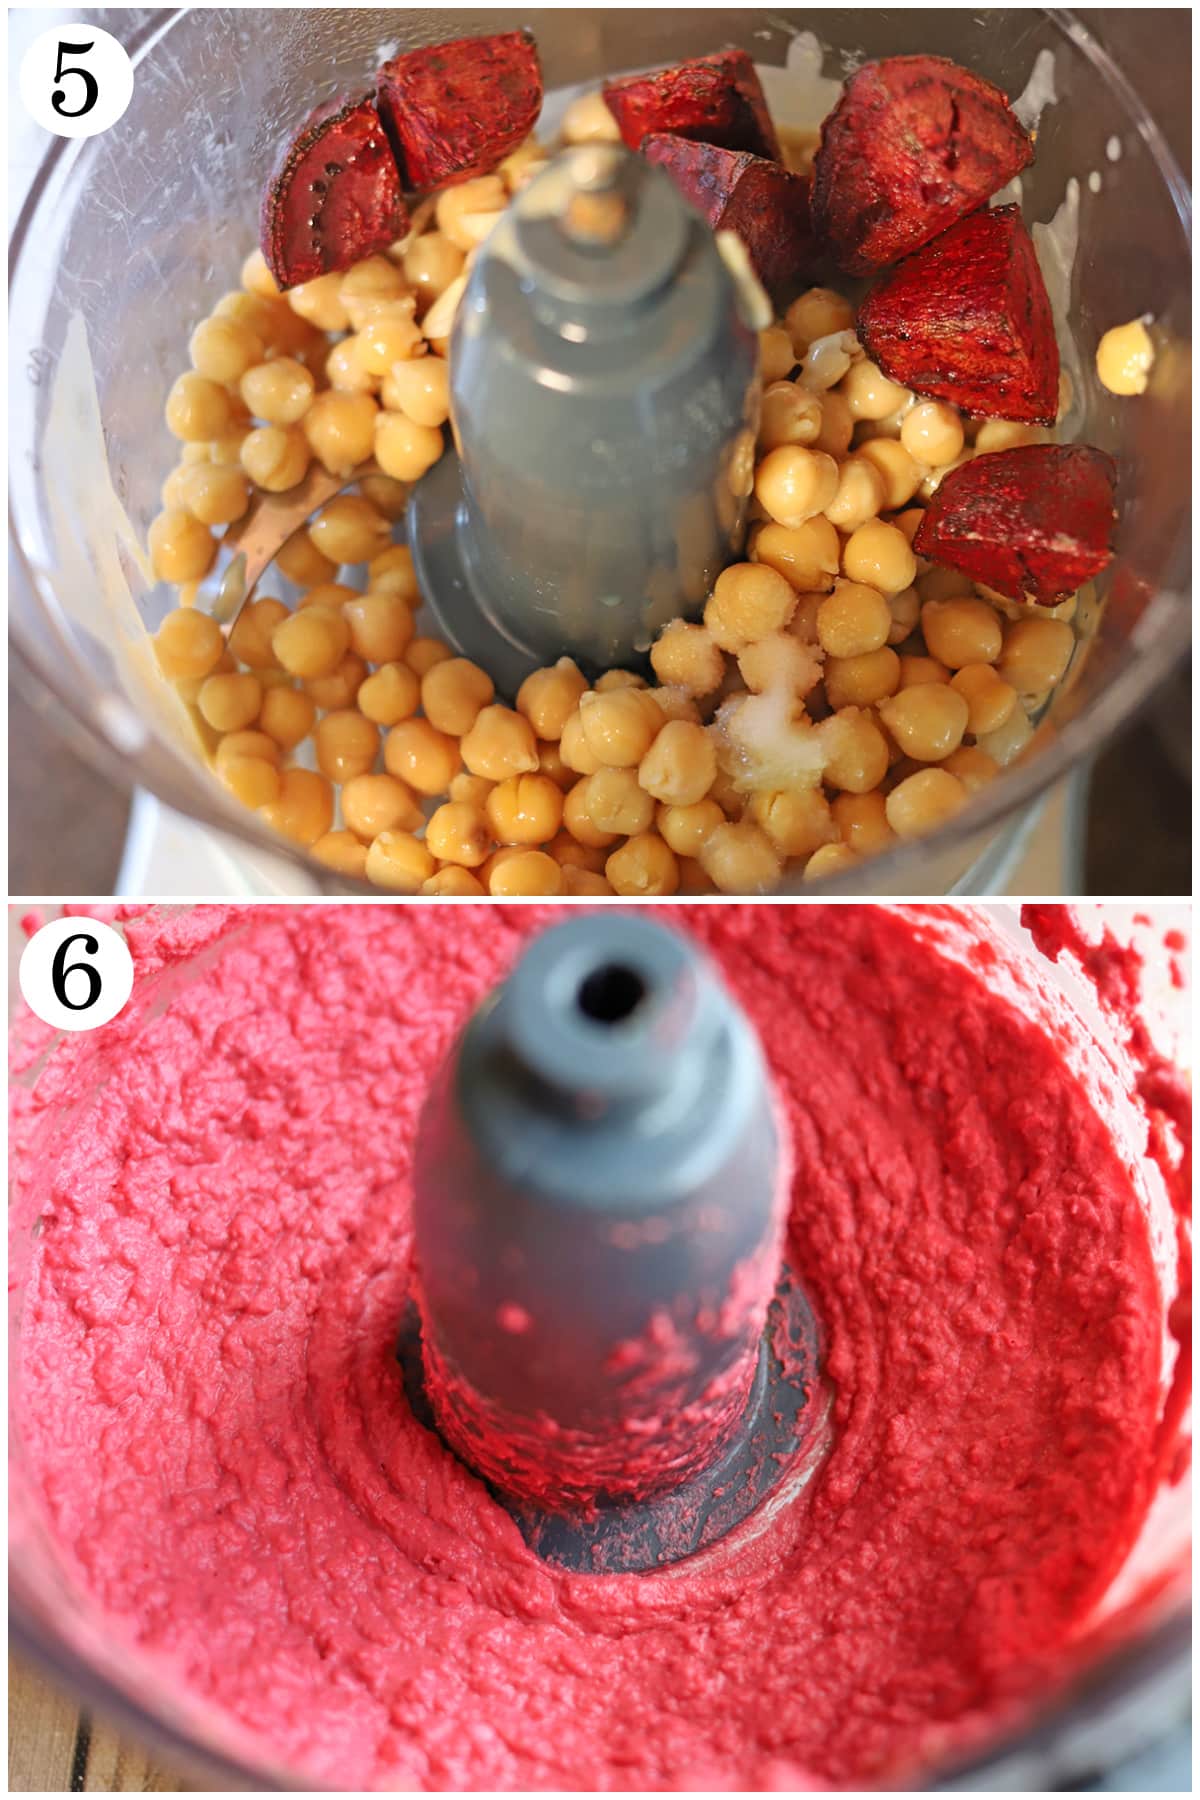
5. Put the following into the food processor:
- Drained chickpeas
- Aquafaba
- Tahini
- Lemon juice
- Minced garlic
- Cumin
- Salt
6. Blend on high until fully combined, stopping occasionally to scrape down the sides. Taste and adjust, as desired.
- Hummus too dry? Add more aquafaba or tahini.
- Need more tang? Add more lemon juice.
- Want more bite? Add more garlic.
- Crave more pungent aroma and flavor? Add more cumin.
- Need more salt? Add it!
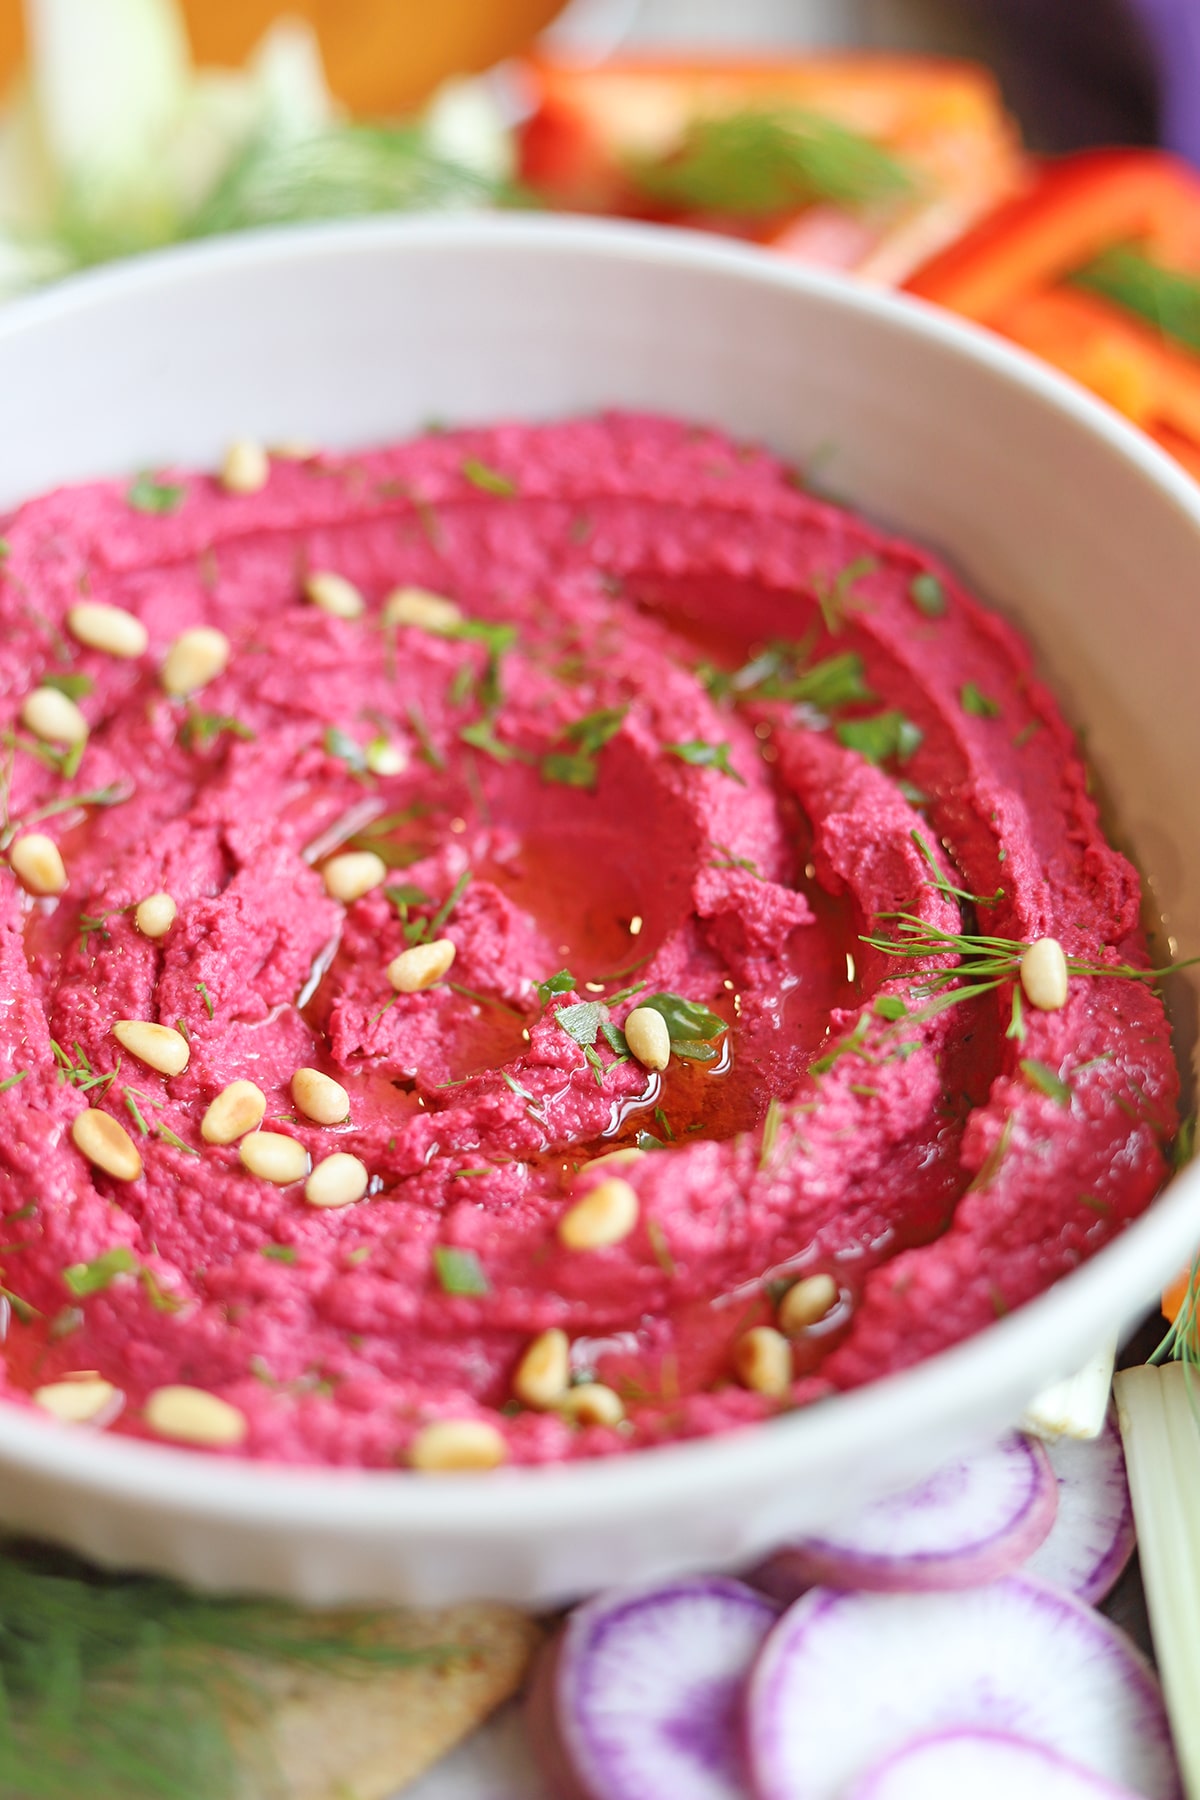
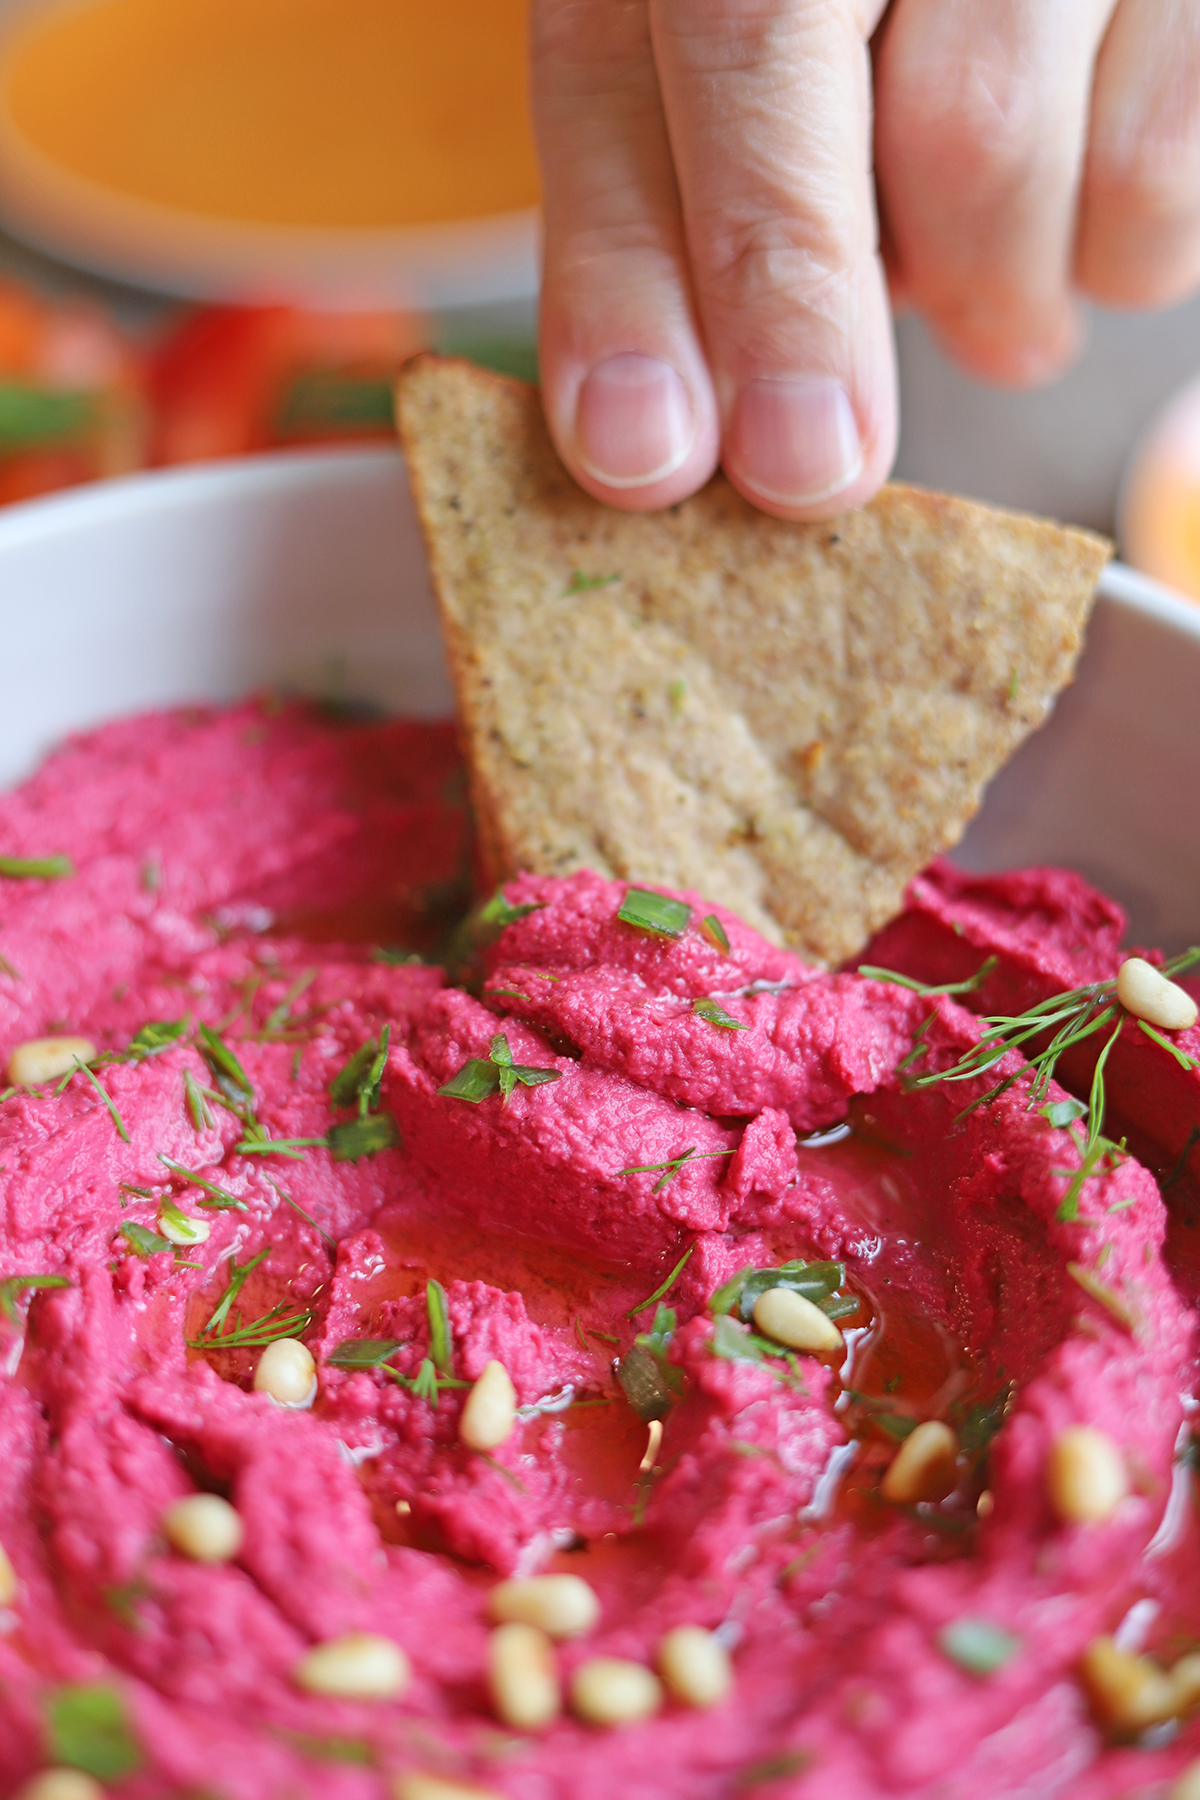
7. Transfer hummus to a serving bowl. If you like, garnish with a drizzle with EVOO, toasted pine nuts, and/or fresh herbs like chopped parsley, dill, cilantro, or chives.
It would also be terrific sprinkled with vegan feta cheese!
Serving suggestions
Scoop up your hummus with air fryer pita chips, focaccia, olive bread, crackers, or crunchy veggies.
For the vegetable platter shown in this post, I used the following veggies:
- Celery sticks
- Carrots sticks
- Red bell pepper slices
- Daikon radish slices
- Kohlrabi, peeled & cut into sticks
(It’s also terrific with cauliflower florets, broccoli florets, or cucumbers!)
If you’d like to serve this hummus as part of a larger meal, it makes an excellent addition to any of these dishes:
- Use it on a falafel platter, falafel bowl, or falafel sandwich
- Add it to a hummus bowl
- Smear it on a vegan bagel sandwich
- Use it instead of black bean hummus in a double hummus wrap
- Roll it into tortilla pinwheels
- Add it to a rainbow veggie platter
Storage instructions
Store leftover hummus in an airtight container in the fridge. It will keep for 4 or 5 days.
More hummus recipes
Here are even more mouthwatering hummus recipes for your next gathering!
FAQ
Yes, it’s naturally vegan and gluten-free.
However, if you need this to be a fully gluten-free appetizer, be sure to serve it with gluten-free dippers like crunchy vegetables and/or gluten-free crackers.
Aquafaba is the liquid inside of a can of chickpeas or other beans that’s surprisingly helpful in recipes. I use it to brown the top of pastry in my vegan pot pie. People also use it as an egg replacer in baking recipes.
In this recipe for beet hummus, aquafaba is used in place of olive oil in the base of the spread. It makes for creamy hummus without gobs of oil or diluted flavor.
(Note that this is not an oil-free recipe, though, because it uses a small amount of oil to coat the beet.)
By using chickpea liquid, you keep all of that garbanzo bean flavor while thinning out the hummus, so that it’s not overly thick.
Of course! If you don't have an air fryer, roast the oiled beet pieces on a parchment paper-lined baking sheet in a preheated oven at 400 degrees, flipping once halfway through, for 20 to 25 minutes or until fork tender.
(The cooking time may vary slightly depending on beet size and your oven, so start checking at 18 minutes.)
Yes, for a whippier texture, you can use a blender instead of a food processor. Although, I prefer the texture of hummus made in a food processor.

If you try this recipe and love it, let me know! Leave a comment and ⭐⭐⭐⭐⭐ rating in the comment section below. It truly makes my day and is such a help!
📖 Recipe

Beet hummus recipe (with air fryer roasted beets + oven option)
Ingredients
- 1 small beet about 3 ounces (red is best for color)
- ½ teaspoon extra virgin olive oil or oil spray, plus more for garnish (optional)
- 1 (15-ounce) can chickpeas drained & liquid reserved
- 3 Tablespoons aquafaba (liquid from chickpea can), plus more if needed
- 3 Tablespoons tahini plus more if needed
- 1 to 2 Tablespoons lemon juice or more to taste
- ¼ teaspoon salt or to taste
- 1 to 2 cloves garlic minced
- ⅛ to ½ teaspoon cumin (optional)
- Pinch of chopped fresh herbs like parsley, chives, cilantro, or dill (optional garnish) and/or toasted pine nuts
Instructions
- Peel a small beet and remove top. Cut the beet in half, and then cut those halves into quarters. (Or cut the beet into roughly 1-inch pieces.)
- Rub the beet pieces with extra virgin olive oil or spray with oil. Then add to an air fryer basket. Air fry at 390 degrees for 11 minutes or until fork tender.
- While the beet is cooking, put a fine mesh sieve in a bowl. Then drain the canned chickpeas, and reserve the liquid from the can (known as aquafaba).
- Then put the following into a food processor: drained chickpeas, 3 Tablespoons of aquafaba, tahini, 1 Tablespoon lemon juice, 1 minced garlic clove, ⅛ teaspoon cumin, and salt.
- Then blend on high until fully combined, stopping occasionally to scrape down the sides. (The viscosity of tahini & dryness of chickpeas can vary by brand. So if your hummus is too dry, add extra splashes of aquafaba or a Tablespoon more of tahini until the hummus runs smoothly through the food processor blade.)
- Once the hummus is creamy and smooth, taste and adjust to your preferences.For more tang, add up to a Tablespoon (or more) of lemon juice. For more garlicky bite, add another minced clove of garlic. For more pungent & aromatic flavor, add more cumin by ⅛ teaspoon at a time, until you've reached your preferred amount. If you think it needs more salt, add it. Then blend until completely incorporated with the hummus.
- Transfer the hummus to a serving bowl. If you like, garnish with a drizzle of extra virgin olive oil, toasted pine nuts, and/or any fresh herbs for color. (Chopped parsley, dill, cilantro, or chives are good options.)


Krista
Roasting beets in the air fryer is a great idea! Thanks!
Cadry Nelson
You’re so welcome, Krista!
Gina
Beautiful recipe, thanks. Beet Hummus is in my top two favorite hummus recipes (the other is arugula). Followed the recipe to the letter–usually do that the first time, then tweak as necessary. This needs no tweaks. When delicious and nutritious is enhanced by the beauty of the dish, what more could one ask? Many thanks!
Cadry Nelson
Wow, you made this recipe in record time, Gina! I’m so glad that you enjoyed it. Thanks for the terrific feedback!