
The Breville Compact Juicer does a good job juicing carrots, oranges, celery, and cucumbers.
It’s handy to have on hand for freshly squeezed juices, cocktails, and recipes that call for ample amounts of citrus juice. It’s fairly inexpensive, and holds up to years of use.
Here’s my full review + recipes to make with it.

Update: I've had my Breville Compact Juicer for over 10 years now! It's still holding up well after all of these years of making vegetable & fruit juices.
I'm glad I went with a moderately priced juicer, as this one has more than met my needs.
After years of wishing & waiting, a juicer is finally adorning my kitchen counter.
Between the smoothies, juices, and raw kale salads, my home even smells like a raw restaurant and juice bar.
One of my favorite scents ever!
When I was looking into juicers, I heard good things about Breville.
Although I didn't buy one of the high-end models or brands used by true raw foodists, I feel pretty happy with my Breville Compact Juice Fountain.
It’s a centrifugal juicer.
What I like about it

In the plus column, it's a nice size for two and fits under the counter.
It's a breeze to assemble and disassemble.
It juices quickly and easily. And cleaning is a cinch.
Breville includes a brush for cleaning the juicer's mesh interior screen. That is very handy.
(When you need to replace the brush, a dish brush works well. Or Breville sells their own cleaning brushes.)
I clean the whole juicer as soon as I'm done.
I haven't had any problem at all getting to the machine's nooks and crannies, unlike some kitchen appliances I've had in the past.
Most of the juicer is dishwasher safe.
I like to rinse it out right away, brush the screen, and then pop it into the top rack.
Recipes for Breville juicer
Here are some of my favorite recipes using my Breville compact juicer.
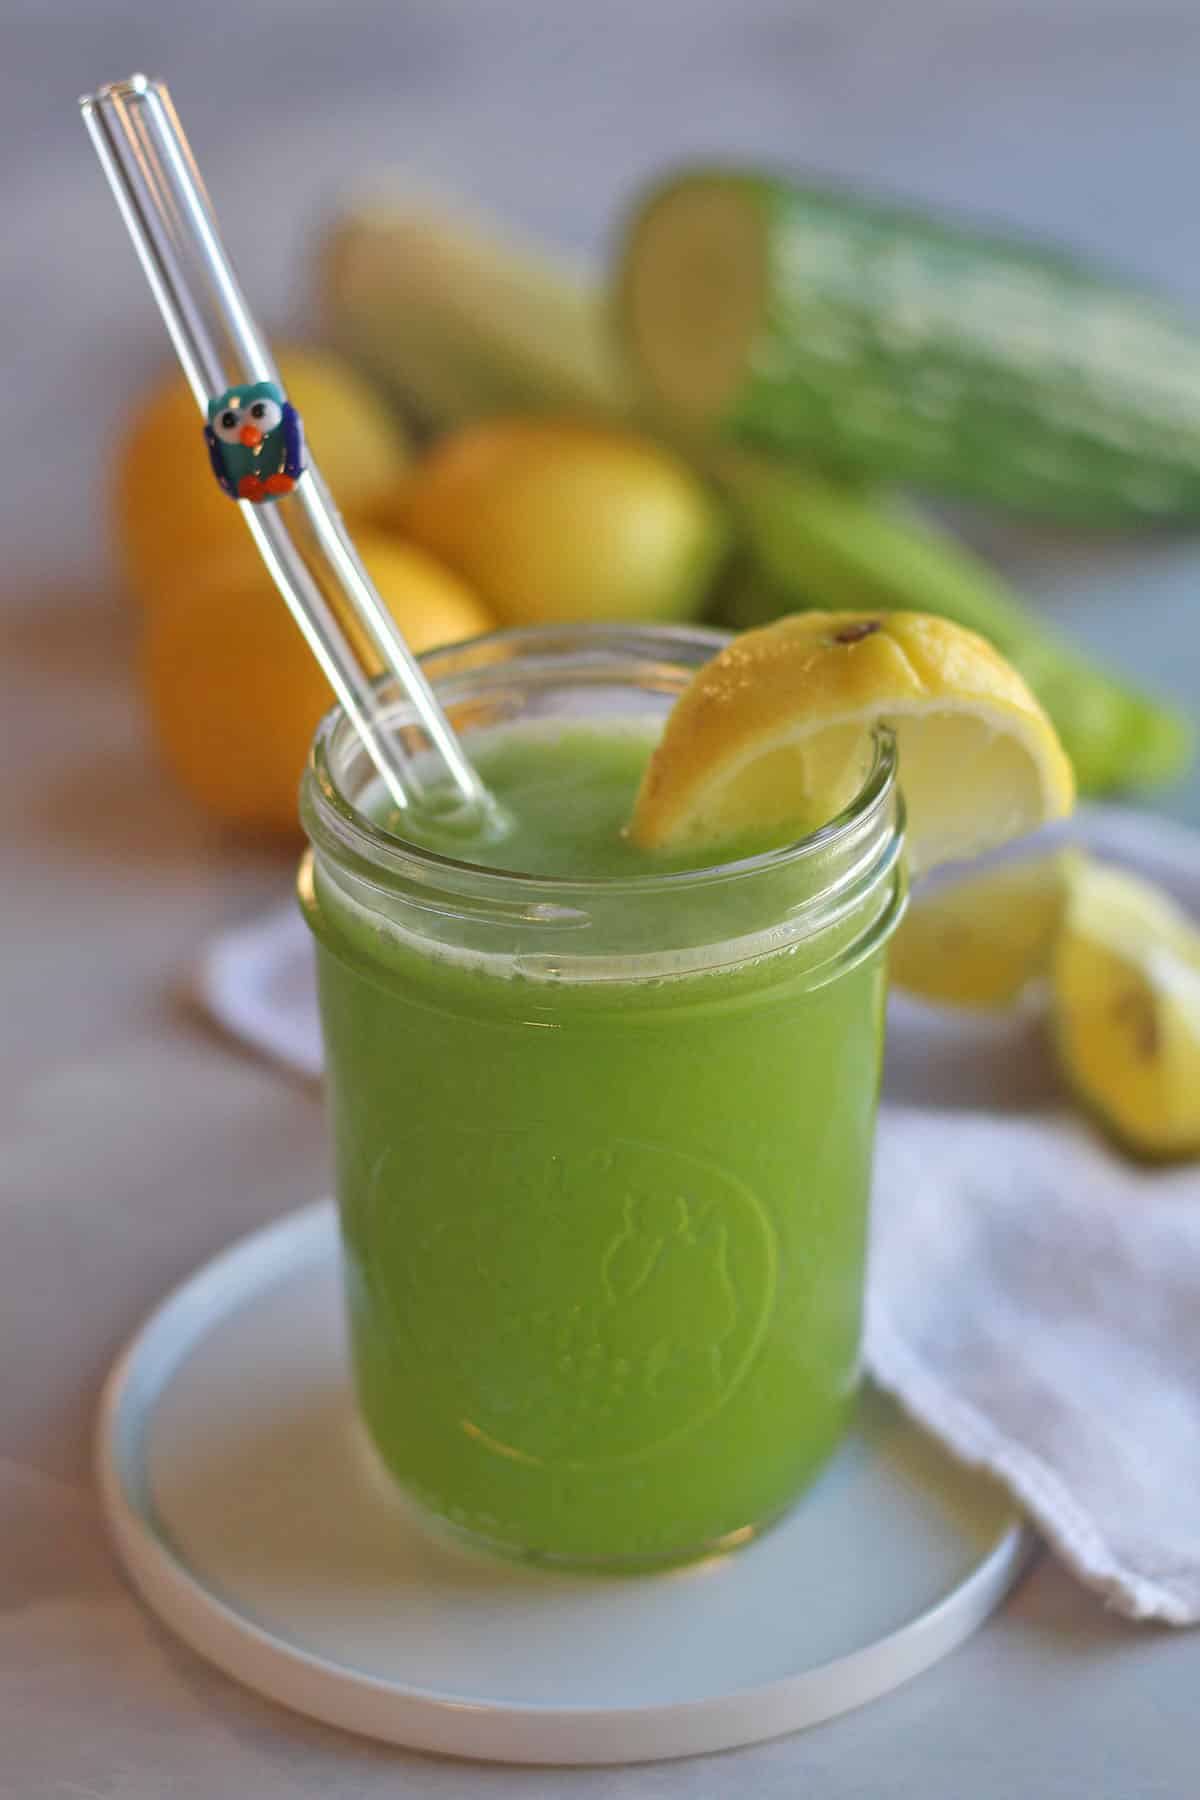
- Celery & cucumber juice
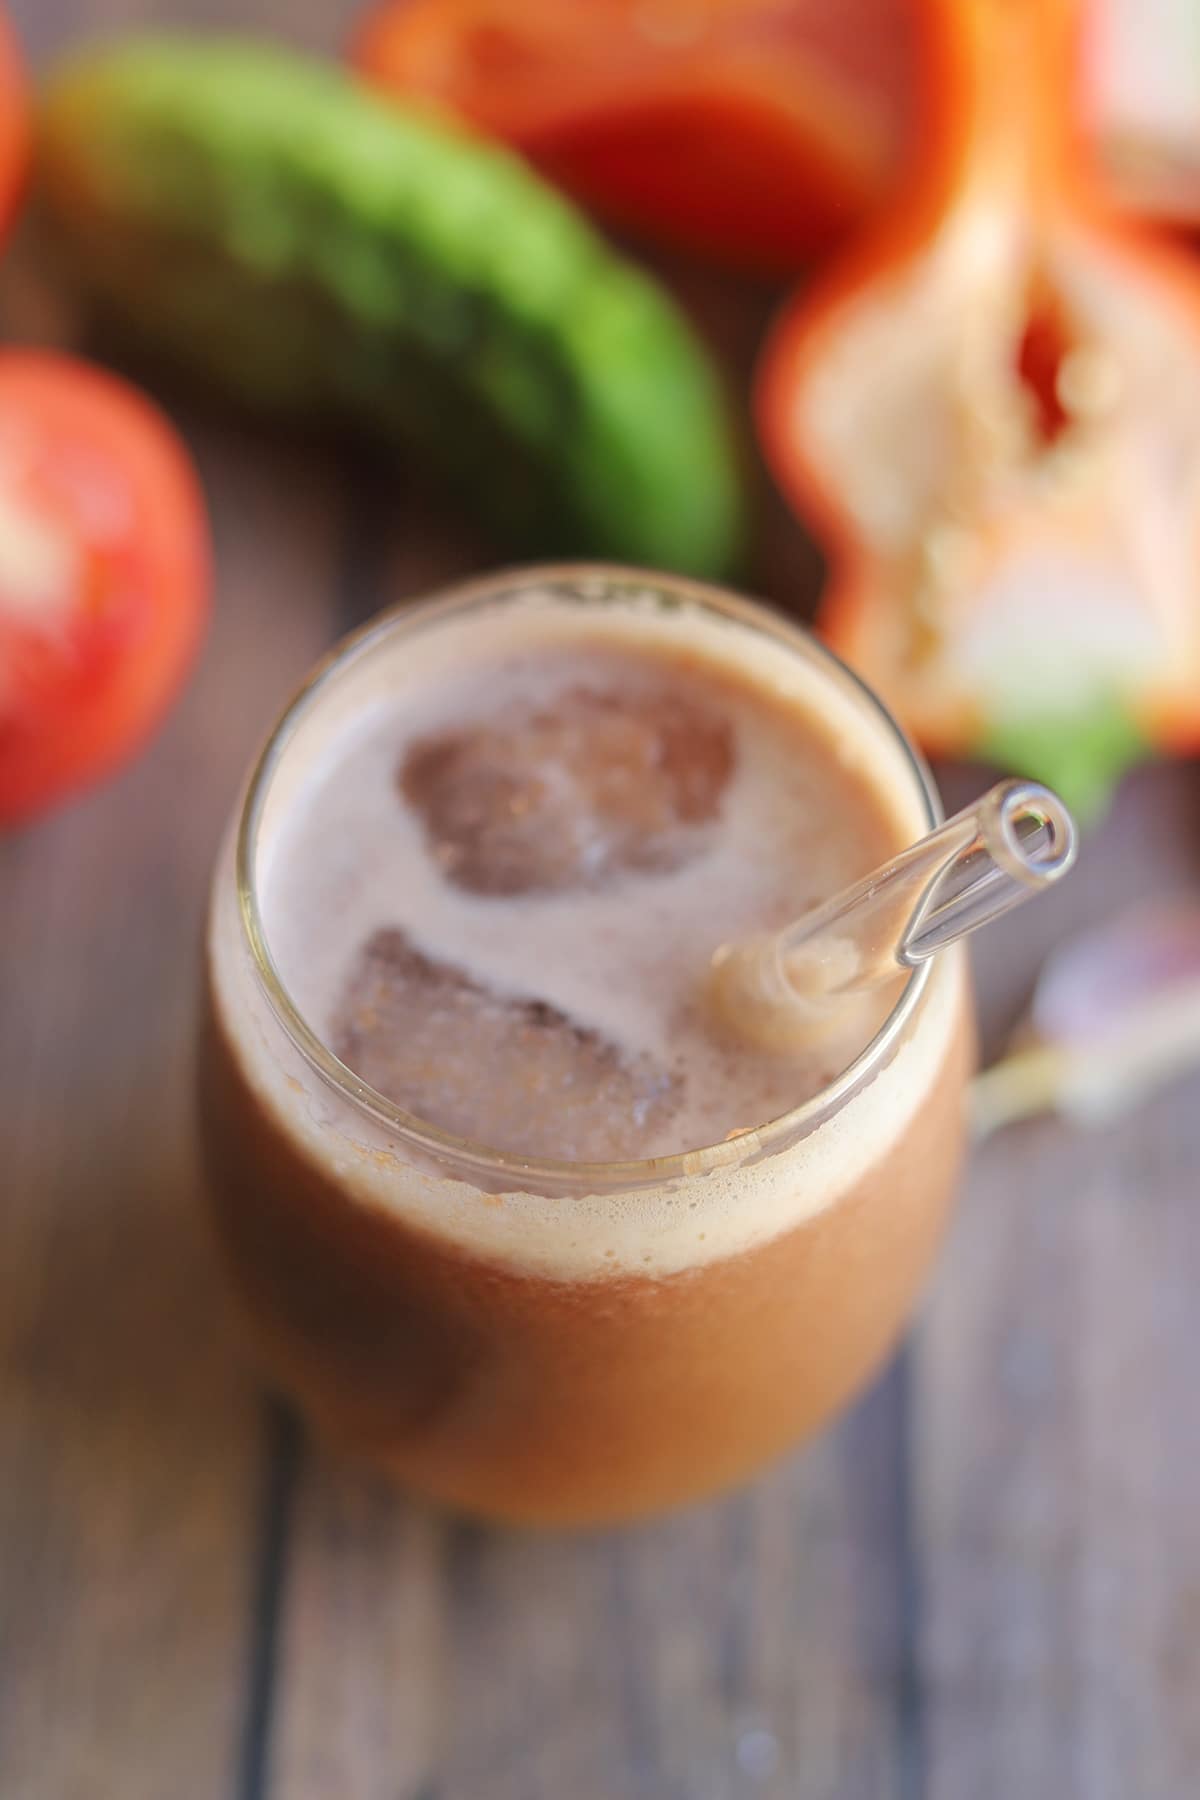
- Cucumber, bell pepper, and tomato juice
- ABC juice with apple, beet, and carrot
- Vegetable juice with tomatoes & cucumber
- Carrot juice with apple, cucumber, and celery
- Rooibos iced tea with fresh peach juice
The juicer is handy for alcoholic drinks like an orange creamsicle cocktail using freshly squeezed orange juice.
It's great for juicing a bunch of lemons. Lemon juice keeps well in a jar in the refrigerator.
Freshly squeezed lemon juice can be used in:
Juice beets for vegan reuben recipes like jackfruit reuben, reuben nourish bowl, or Chicago Diner reuben with seitan.
Beet juice also adds vibrant color to vegan caviar.
What I dislike about it
On the negative column, it’s not great at juicing dark leafy greens like kale or collard greens.
I’d looked forward to that, but this type of juicer just doesn’t do a very thorough job. It seems to just immediately throw the leaves to the inside of the pulp container.
Being a leafy greens fanatic, I hate to just waste leaves that could have made a nutritious lunch.
Luckily there’s still plenty that it is good at juicing outside of that. It does a good job with fruits and vegetables like celery, carrots, pears, apples, peeled citrus fruit…
(People have recommended stuffing leafy greens into the cavity of a bell pepper before juicing as a way of helping it to break up the greens more effectively. So that’s something to try!)
What about the pulp?

I can't compare the dryness of the remaining pulp to other juicers since this one is my first. But I can say that it isn't completely dry afterwards. It has the feeling of mashed potatoes.
I've tried running it through the machine again. But the few droplets of juice it produces come out like sludge.
For the most part I like the juicer. So I've started finding other uses for the remaining pulp.
Ways to use leftover pulp
One thing I've done is make my own vegetable broth.
Before adding any fruits, I juice only the vegetables.
Then I remove all of the vegetable pulp from its catcher and put it into a pot with water.
I bring the water to a boil and then lower it to a simmer. I let it simmer for about an hour with herbs like thyme, rosemary, and basil.
Once it has finished cooking, I run the broth through a fine mesh sieve to catch all of the pulp.
I use it in any recipes calling for broth, or when I want to add more color and nutrients to my cooked grains.
(Most people stay away from using green vegetables for broth because of the color, but I don't mind it.)
If it's more broth than I want to have on hand, I pour it into an ice cube tray, and freeze it. Then I can use just as many cubes as I need at a time.
Another way I've used the pulp is by incorporating it in smoothies.
After I'm done juicing, I mash the pulp into an ice cube tray and store it in the freezer.
When I'm making green smoothies, I just add a few extra cubes for extra nutrition and flavor.
Content and photos updated April 23, 2021. Originally posted March 20, 2011.


matt
i’ve had this juicer for about a month – love green juice. i’ve used spinach, collard greens, kale, swiss chard, carrots, parsely, celery, cucumber, rhubarb, lemon, lime, ginger, green apple, beet, and cabbage.
the pulp left over is definitely wet, so i use a nut-milk (mesh) bag to squeeze out at least an extra third of juice. $10 at a heath food store and less than a minute of squeezing.
i think the pulp is getting wetter though, so i will soak the screen in hot water with vinegar for a couple of hours soon.
matt
as a follow up to anyone finding this page because of a clogged screen. no regular soaking or scrubbing works if the screen clog is dried on. i have read soaking in bleach overnight will do it, but i used a small stainless steal bristled brush from the hardware store. it works, screen is undamaged, and now prompt cleaning after juicing keeps screen usable. letting it dry even once without clearing the screen will make it tough to use.
Mommy of boys
I have the same juicer but I’m having a very difficult time with the stainless steal mesh part. Most of the holes are clogged up and I don’t know what else to do to get it clean. We have only had it for about 3 months and we have always cleaned it out immediately. I don’t know why it is clogging up. I’ve soaked it in lemon juice. Nothing. I’ve done baking soda. Nothing.
Any advice would be appreciated. Thanks
Cadry
Are you using the scrub brush that came with it? I find that as long as I brush the mesh right away before the produce has a chance to solidify, I can get it clean. If you no longer have a scrub brush or didn’t get one, I’d recommend purchasing a firm scrub brush in the kitchen section of a store like Target. Good luck!
Lea
I, too, spent a lot of time yearning for a juicer and still yearn for a Vitamix. My family went in on a juicer for my birthday a few days ago (the one in Fat, Sick…) and I just about died of happiness. I’m still in shock!
I love the idea of freezing pulp in ice cube trays and adding cubes to smoothies. That’s brilliant! Definitely going to try 🙂 I hate throwing all that fibre away, even if it is into the compost.
Cadry
Happy belated birthday! A juicer is such a great idea for a birthday gift. Hopefully all of those fruits and vegetables will give you many more healthy years! 🙂
I agree that it’s hard to throw away the fruit and vegetable remnants, especially knowing how expensive organic produce can be. I feel so much better repurposing it!
Anonymous
I also cut out the stems of dino kale usually and use the leaves for cooking and the stems for juicing. I have the compact breville as well and I like it a lot. I have never tried another kind and maybe someday would spring for the Hurom. I do have a Vitamix, one of the best splurges I ever made. I bought it on QVC home shopping network and was able to get a discounted rate, not interest and paid it off over 5 months. That made it completely affordable. I love the idea of throwing the cubed frozen pulp into the smoothies. right now I basically compost the pulp but want to try broth. However I am less inclined to juice in two steps and may try the broth with the apples I usually use for sweetness.
Audrey
I have this same juicer, so I appreciate your tips for maximizing it’s use. I love fresh juice but it’s hard for me to justify using all that produce if I’m just going to throw it out…thus, I love your creative types for re-purposing the pulp!
cadryskitchen
Great! I’m glad they’re useful for you! I agree, it’s disheartening to see all of that useable fruit and vegetable material left over. That’s a lot of money and nutrition to go down the disposal!
At some point I could see myself getting a wheatgrass juicer, so that I could juice wheatgrass, leafy greens and pea shoots as well. Or maybe when I get to that point, I’ll get a higher end juicer that can do all fruits and vegetables with less leftover and wet pulp.
Bedazzles After Dark
I am thinking about getting this juicer but am worried about the kale aspect. I need to be able to juice kale but I can’t really afford to buy the 250-300 juicer (This is on sale at C&B)
Do you juice the stems of kale as well or just the leafy green part?
Thanks for your help
cadryskitchen
At first I juiced all of it – the leafy part and the stem, but I didn’t think I was getting enough juice out of it. So now I use the leafy part in raw salads or sauteed with garlic, and then I save the stems and juice them later. When it’s just the stems, I get a decent amount of juice. (Although, the juicer does just toss some parts of the stems to the side without pulverizing them.) I’ve heard of some people stuffing the kale leaves into the cavity of a bell pepper. They said that the juicer had an easier time breaking up the leaves that way. Hope that helps!
Sarah S.
Glad to have your insight on this juicer because I just received this exact one for my birthday a few days ago! Very excited to try it. I love your ideas for juicing veggies separate so you can freeze them or make stock out of them. So smart!
cadryskitchen
That’s a nice birthday gift! I hope you like it and happy belated birthday!
Amanda
I have a breville juicer as well, though a different one than yours. I absolutely love it. I’ve only had mine since February but I wish I’d purchased it sooner. We have had pretty good success with leafy greens like kale, though I have found that Dino kale produces the most juice.
I haven’t used the pulp yet, but I am totally inspired by your idea to use the veg pulp to make broth! Brilliant. I hadn’t thought to juice all the veg first. Thanks for that tip.
cadryskitchen
That’s good to know about dinosaur kale! Thanks, Amanda! I’ve only tried curly kale in the juicer. I didn’t think it would make a difference. I did notice that the juicer does a pretty good job of juicing the stems of collard greens.
Rose
I have that exact juicer! Like you, I find it really easy to clean and assemble etc, which surprised me. It sat in the box for a few weeks after I bought it, such was my trepidation towards the whole assemble/disassemble aspect.
I’ve been pretty happy with it, so far. As for the greens, do you put them in one by one or in a big clump? I usually stuff a whole handful in at once and it seems to go through pretty well.
Someday, maybe I’ll splash out for a better juicer, but for now, it’s ok for me.
I think the best thing about a treehouse hideaway would be hanging out there with a blanket and a good book during a rainstorm…that is if the hideaway has a roof. If not, then definitely the good book part, but not in a rainstorm. 🙂
cadryskitchen
That’s funny that it sat in the box for a few weeks before its first use. I’ve had that experience with other kitchen gadgets. Although, not with the juicer. I used it within the first ten minutes of its arrival. 🙂
I usually stuff the greens into the chute in a clump, but it didn’t seem like enough juice was produced for the amount of leaves. Maybe I just love kale too much. I want to get maximum enjoyment out of it. 🙂 I’ve heard of other people putting the greens into the crevice of a bell pepper and that it helped the juicer to produce more juice because of the extra time it took to get through the blades.
I totally agree with you about the major selling point of a treehouse hideaway. Cuddling up with a warm blanket and good book would be the best.
Channing
I did my research as well and wanted a leafy green juicer. As well as a wheat grass and regular carrot, apple etc juicer. The key is you need a slow auger type. I have the vertical auger in a Hurom juicer. It’s slow speed makes sure not to burn any vitamins with heat. It’s too is very easy to clean. Extremely quiet. And very powerful. The part I like is pulp comes out one spout and juice the other. So when you are done you just empty the container of pulp into garbage or into another recipe. It’s sits in less space then a standard blender. Comes with cleaning brush. I got a very nice certificate for williams Sonoma to pay for most of it. It’s 359. But worth every last penny. It’s new to the Williams sonoma. But the company makes a bunch of them under different names. Search you tube and you find it beating most machines head to head. Just had carrot, apple and ginger juice this morning. Yum.
cadryskitchen
That’s good to know about the Hurom. It sounds like a fantastic machine, but the price tag was a bit higher than I wanted to spend. I will keep it in mind for the next time I get one of those William Sonoma certificates… Maybe it’s time to renew my wedding vows! 😉